How to Use Primer: 6 Surfaces That Fail Without It
Primer Is the Step That Decides Whether Your Paint Lasts
Learning how to use primer is the difference between a wall you paint once and a wall you repaint in eighteen months. Paint is a colour film. Primer is what glues that film to whatever is underneath it — and on six specific surfaces, skipping it guarantees failure.
Most peeling jobs I get called to look at were not caused by cheap paint. They were caused by paint applied straight onto something slick, porous, or stained. The paint did exactly what it was built to do; it just had nothing to hold onto. Below is which primer each surface needs, how to apply it, and the one situation where you can honestly skip it.
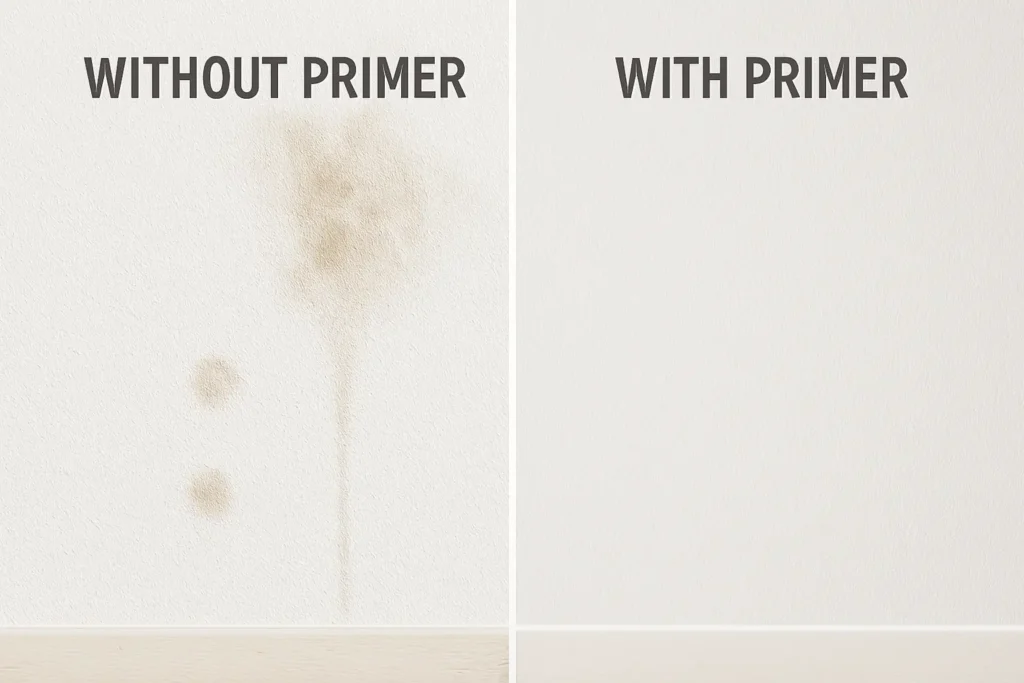
What Primer Actually Does — Four Jobs, Not One
Primer is not thin paint. It carries far more resin and far less pigment, which is why it grips and why it looks patchy when it dries. It does four separate jobs:
- Seals porosity. New drywall, bare wood and masonry drink paint unevenly. Primer fills that thirst so the topcoat sits on the surface instead of soaking into it.
- Blocks stains. Water rings, smoke, nicotine and wood tannins will bleed through three coats of latex. A shellac or oil-based blocker stops them in one.
- Creates adhesion. On glossy trim, laminate, tile or metal there is nothing for latex to key into. A bonding primer creates that key chemically.
- Buys back coats. One coat of primer usually saves you a coat of finish paint, which on a whole-house job is real money.
The first time I skipped primer on purpose, it was a laminate bathroom vanity. The paint looked perfect for six weeks. Then the door edges started lifting like sunburnt skin, and by month three I could peel a strip off with my thumbnail. I sanded it back and started over with a bonding primer. Two years on, that vanity has not chipped once. Prep matters more than the brand — I have never seen a case where that wasn’t true.
How to Use Primer: The Five Steps That Matter
The application itself is simple. What people get wrong is the order and the drying window.
- Clean first, always. Primer bonds to the surface, not to the grease on top of it. Degrease kitchen and bathroom walls with a TSP substitute and rinse. Read our guide to cleaning walls before painting before you open a tin.
- Scuff anything glossy. 180–220 grit, just enough to kill the shine. You are not stripping, you are giving the primer teeth.
- Apply thin. Two thin coats always beat one thick coat. A heavy primer coat skins over, traps solvent underneath, and stays soft for days.
- Respect the recoat window. Latex primers are touch-dry in 30–60 minutes but are not ready for topcoat for 3–4 hours. Shellac primers recoat in 45 minutes. Oil-based need overnight.
- Sand between coats lightly. 220 grit and a vacuum. Primer dries slightly rough by design; this is the step that gives you a glass finish.
Tinting is free and almost nobody asks for it. Any paint counter will tint white primer toward your finish colour at no charge. On deep reds, blues and blacks it saves an entire topcoat. Ask for it at 50% of the finish colour.
Which Primer for Which Surface — The Quick Table
| Surface | Primer type | Why |
|---|---|---|
| New drywall | PVA drywall primer | Seals paper facing and joint compound so they absorb evenly |
| Glossy trim, laminate, tile | Bonding primer | Nothing else keys into a sealed, slick film |
| Bare or rusty metal | Rust-inhibiting or etching primer | Stops rust creeping under the paint layer |
| Concrete and masonry | Masonry bonding primer | Handles high alkalinity and heavy porosity |
| Brick | Masonry sealer-primer | Blocks moisture migration and efflorescence salts |
| Bare wood | Stain-blocking oil or shellac | Locks tannins that bleed orange through latex |
| Water-stained ceiling | Shellac stain blocker | Only shellac reliably stops a dried water ring |
The Primers I Keep on the Shelf
These are the four that cover roughly 90% of household jobs. I would rather own four tins that each do one thing properly than one “universal” primer that does everything at 60%.
KILZ Adhesion High-Bonding Interior Latex Primer
This is the tin I reach for on cabinet doors, varnished trim, tile and previously oil-painted woodwork. It is water-based, so cleanup is a sink job rather than a solvent job, but the acrylic binder still keys into surfaces where standard latex primer slides straight off.
The limitation: it needs a full 7 days to reach hardness. If you put a kettle or a hand cream bottle down on a freshly finished shelf after two days, it will mark. Wait the week.
Best for: painted or varnished cabinets, laminate furniture, and any trim that currently has a sheen.
KILZ Restoration Maximum Stain and Odour Blocking Primer
Water rings, nicotine, smoke damage and pet odour. This is a water-based formula that performs close to shellac on stains, which matters because shellac primers are miserable to clean up and stink out a house for a day.
The limitation: on a heavy, dark, still-slightly-damp water stain I have had it ghost through. If the ceiling leak was recent, dry it fully, then use shellac. For an old dried ring, this handles it in one coat.
Best for: ceilings after a fixed leak, smokers’ rooms, and any wall with mystery brown marks.
INSL-X Stix Acrylic Waterborne Bonding Primer
The one professional cabinet painters keep in the van. It bonds to PVC, vinyl, glass, glazed block and Formica — surfaces where most primers simply will not stick. It also brushes and rolls flat enough to leave under a sprayed finish.
The limitation: it is expensive per litre and it is not a stain blocker. It solves adhesion, nothing else. Pair it with a blocker if the surface is also stained.
Best for: kitchen cabinets, PVC trim, and anything a normal primer has already failed on. See our full picks for the best primer for kitchen cabinets.
Rust-Oleum Professional Rust-Inhibiting Primer Spray
Railings, gates, radiators, tool cabinets. The zinc-rich formula does not just cover rust, it slows the electrochemical reaction that keeps rust spreading underneath a paint film. Spray application also gets into the pitting that a brush skips over.
The limitation: it will not save metal that has already scaled and flaked. If a screwdriver sinks into the surface, primer is the wrong tool — that section needs replacing. Wire-brush to bright metal or accept a short life.
Best for: sound metal with surface rust. For heavy corrosion see our guide to the best paint for rusty metal.
How to Use Exterior Primer Without Trapping Moisture
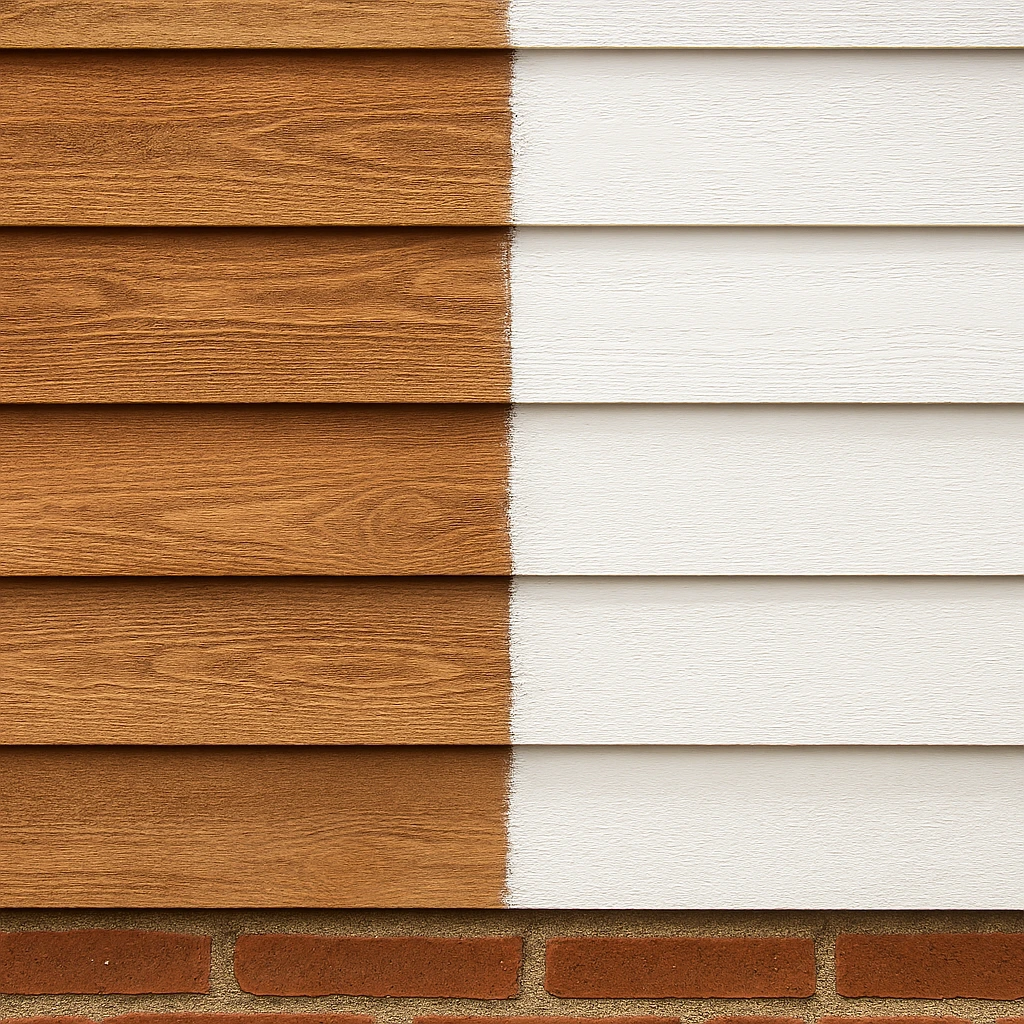
Outside, primer has a fifth job: managing water. Masonry and brick pull moisture from the ground and push it outward as vapour. A primer that seals too tightly traps that vapour behind the paint film, and the paint blisters off in sheets the first hot week after rain.
The rule is to use a breathable masonry primer on brick, block and render, and save the fully sealing products for surfaces that are genuinely dry. New concrete also needs curing time — 28 days minimum before any coating, and a pH check if you can get one, because fresh concrete is alkaline enough to eat a standard latex primer from underneath.
On wood siding, prime all six faces of a board before it goes up, including the end grain. End grain absorbs water roughly ten times faster than face grain, and unprimed ends are where almost every siding paint failure starts. This Old House makes the same point about back-priming, and it is the single cheapest insurance on an exterior job.
When NOT to Use Primer
Primer is not automatic, and there are three cases where it is a waste of a day:
- Repainting a sound, matt, similar-coloured wall. If the existing paint is flat latex, well bonded, clean, and you are going from off-white to off-white, prime nothing. Wash it and paint.
- Over a peeling or chalking surface. Primer bonds to what it touches. If what it touches is loose paint, you have glued a new film onto a failing one. Scrape and sand back to sound material first — primer cannot rescue bad substrate.
- On damp masonry. If the wall is still holding water, primer seals that water in. Find and fix the source, let it dry for weeks not days, then coat.
And one honest note: modern paint-and-primer-in-one products are real paints with more resin. They are fine for repainting sound walls. They are not a substitute for a dedicated bonding or stain-blocking primer, and every failure I have seen on cabinets started with someone believing the label.
Primer on Concrete, Brick and Wood — Surface by Surface
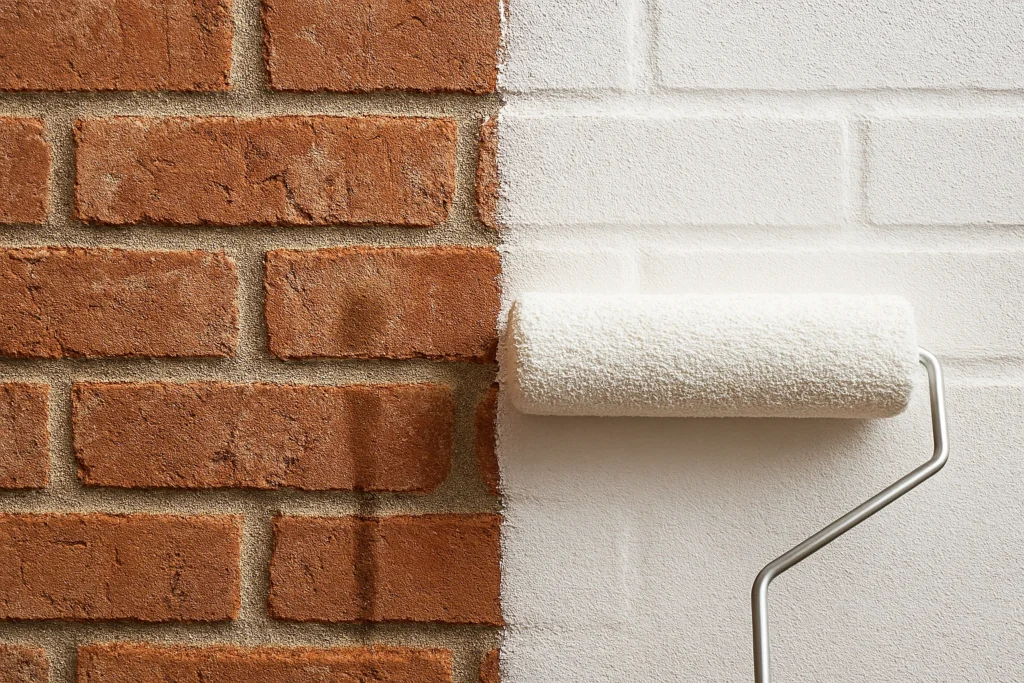
Concrete
Concrete is porous enough that unprimed paint sinks in unevenly and looks blotchy no matter how many coats you add. Use a masonry bonding primer, and etch or grind polished slabs first — a smooth power-floated garage floor has almost no profile for anything to hold. Our walkthrough on painting a concrete floor covers the etching step properly.
Brick
Brick adds efflorescence to the problem: white salt crystals that push out through the surface and lift paint with them. Brush the salts off dry — never wash them in, that just dissolves them deeper — then use a masonry sealer-primer. If the brick is old and soft, test a square foot first and leave it a month through a wet spell before committing to the whole wall.
Bare wood
Cedar, redwood, knotty pine and oak all contain tannins that bleed orange-brown through white latex within days. A stain-blocking oil or shellac primer locks them. Spot-prime knots even if you are using a water-based primer everywhere else — knots are the worst offenders and they will telegraph through.
Drywall
New drywall is two different materials: paper facing and joint compound, with completely different absorbency. Without a PVA primer, the joints flash — they dry to a different sheen than the field and show as visible bands under side light. This is the most common finish complaint on new builds and it is entirely a primer problem. See the best drywall primer picks for specific products.
Lead Paint: Prime Nothing Until You Test
If the house was built before 1978, sanding before priming can release lead dust. The EPA’s Renovation, Repair and Painting rule exists because that dust is the main exposure route in home renovation. Test kits cost a few dollars. Encapsulating with a suitable primer is often the right answer, but only after you know what you are dealing with.
Frequently Asked Questions
How many coats of primer do I need?
One, in most cases. Go to two when you are covering a dark colour with a light one, sealing new drywall, or blocking a stain that ghosted through the first coat. More than two means the primer is the wrong type, not that you need more of it.
How long should primer dry before painting?
Latex and acrylic primers: 3–4 hours, not the 30 minutes on the touch-dry label. Shellac: 45 minutes. Oil-based: overnight. Cold or humid rooms roughly double all of these, and painting over primer that is still soft is why finish coats sometimes lift when you cut in.
Can I use paint as primer?
On a sound, matt, previously painted wall, an extra coat of finish paint works fine. On glossy, bare, porous or stained surfaces it does not — paint has neither the resin load to bond nor the blocking agents to stop stains. That is the whole distinction.
Do I need to sand after priming?
On walls, no. On trim, cabinets and furniture, yes — a light 220 grit pass and a vacuum. Primer dries slightly rough by design, and on anything you will touch daily that roughness reads as a cheap finish.
What primer stops water stains coming back?
A shellac-based blocker is the most reliable, with a maximum-strength water-based blocker close behind and far pleasanter to work with. Neither will hold if the leak is still active — fix the source first, then let the substrate dry completely.
Is tinted primer worth asking for?
Yes, and it costs nothing. Tinting primer to roughly half your finish colour typically saves a full topcoat on deep reds, blues, greens and blacks. Ask at the paint counter when they mix your colour.
Can I prime in cold weather?
Check the tin, but most water-based primers need 10°C (50°F) and rising, measured at the surface rather than the air. Below that the film does not coalesce properly, and it will look fine on day one and fail through the first seasonal cycle.
What This Comes Down To
Knowing how to use primer is mostly about matching the primer to the problem: adhesion, porosity, stains, or rust. Get that match right and one thin coat does the work. Get it wrong and no amount of expensive topcoat rescues the job. If you take one thing from this page, take the tinting tip and the seven-day cure on cabinets — those two save more repaint jobs than any product choice.
Next step depends on your surface: painting kitchen cabinets, garage walls, or spray primer for wood and metal if you are working outdoors.
About the author — Sophie Ulman has renovated and painted more rooms than she can count — and made every mistake in the book so you don’t have to. She focuses on real-world durability: not how products perform on day one, but whether the repair holds through a full seasonal cycle.
ThePaintly is reader-supported. We only recommend products we’ve personally evaluated. When you buy through links on this site, we may earn an affiliate commission at no extra cost to you.