Christmas Ceiling Paint Ideas That Actually Work (2025 Guide)
Your Ceiling Is the Secret Weapon — And Almost Nobody Uses It
Here’s something I’ve learned after years of painting interiors: homeowners will spend $400 on ornaments and garlands, then completely ignore the one surface that controls how the whole room feels. Designers call it the “fifth wall.” I call it the most underutilized tool in holiday decorating.
The ceiling sets the emotional tone of a room before a single decoration goes up. Get it right, and every string of lights, every candle, every ornament looks better — because the backdrop is working with you instead of against you.
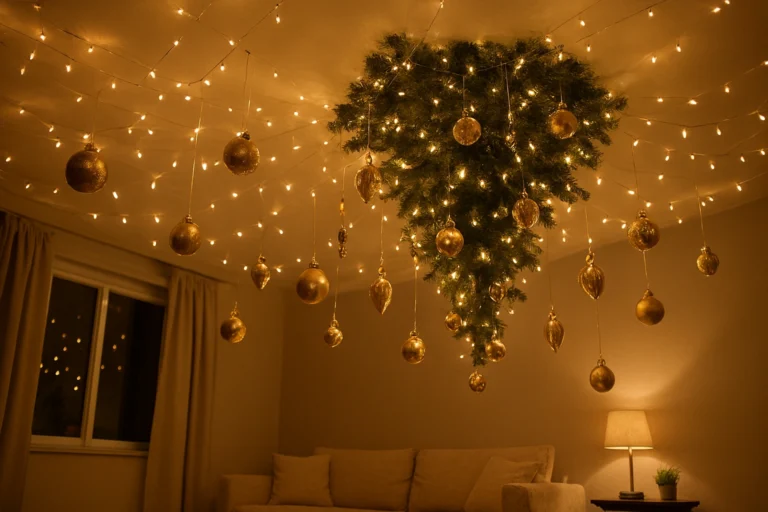
A freshly painted ceiling amplifies every light source. Candles on the mantelpiece. LED fairy lights draped across a fireplace. Even cheap string lights look expensive when the ceiling above them is doing its job. This guide gives you the full technical and creative roadmap — themes, specialty projects, product picks, and step-by-step execution — so you can make it happen this Christmas.
The Two Signature Christmas Ceiling Themes
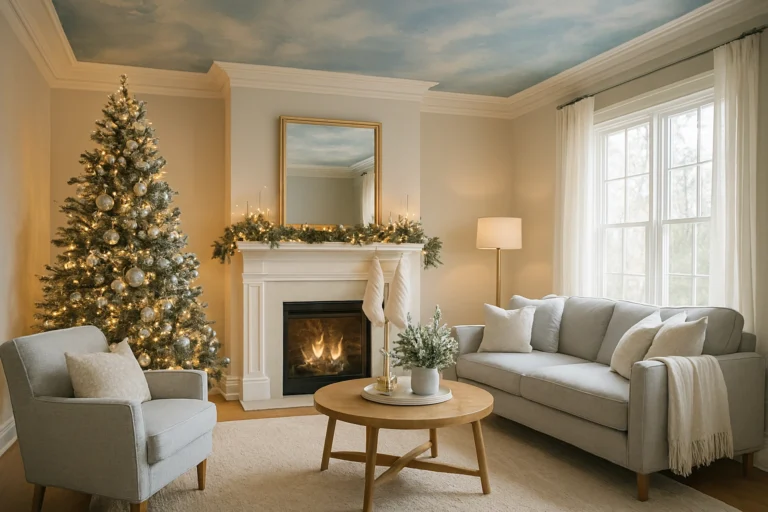
Theme 1: The “Ice Palace” — Icy Blues and Silver Accents
This is the one that stops people in their tracks. Done right, it transforms a standard ceiling into a winter skyscape — that still, luminous quality of a frozen lake at dawn.
The palette: Pale arctic blue base, cool pearl white, silver metallic accents.
Where it works best: Modern living rooms, master bedrooms, open-plan spaces with high ceilings. The height matters — this theme needs room to breathe.
How to execute it:
- Start with a pale blue-grey base coat across the full ceiling
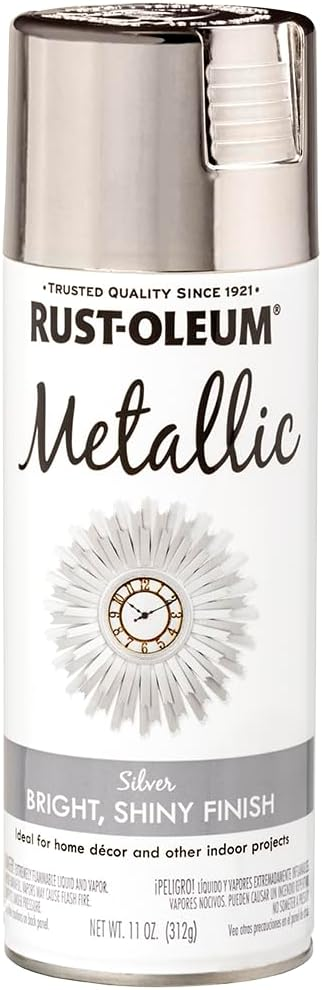
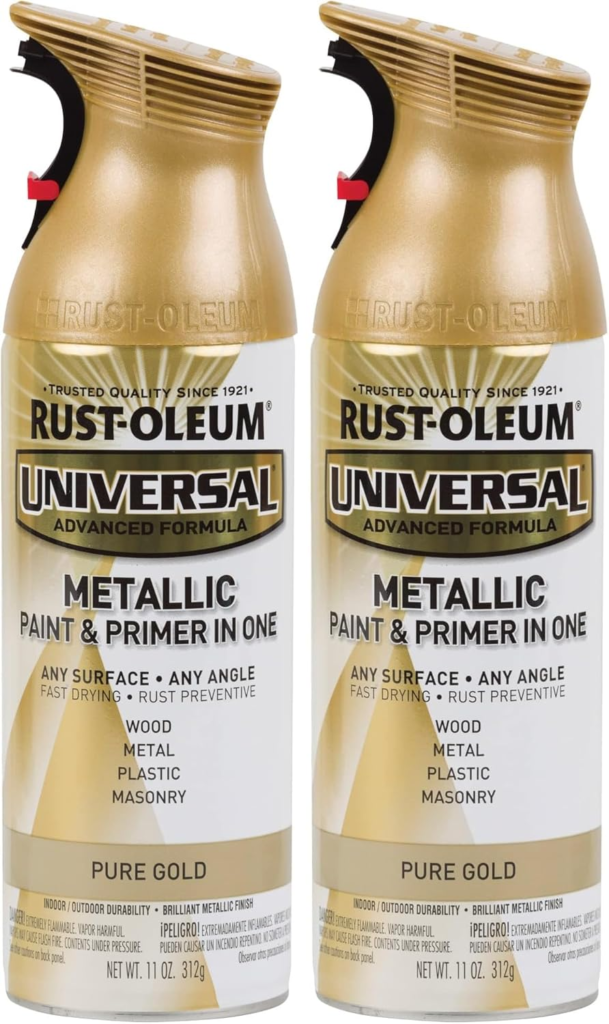
- Add silver metallic borders along the crown moulding using Rust-Oleum Metallic Accents (Silver) — applied with a 2-inch angled brush, not a roller
- The silver border catches and refracts light from every direction
I’ve found that under cool-white LED Christmas lights, a silver-bordered blue ceiling appears to shimmer — it genuinely looks like a sheet of ice. The effect costs about $12 worth of metallic paint and takes 90 minutes. Worth every minute.
Pairs well with: Silver ornaments, white faux-fur throws, crystal chandeliers, cool-toned LED strips.
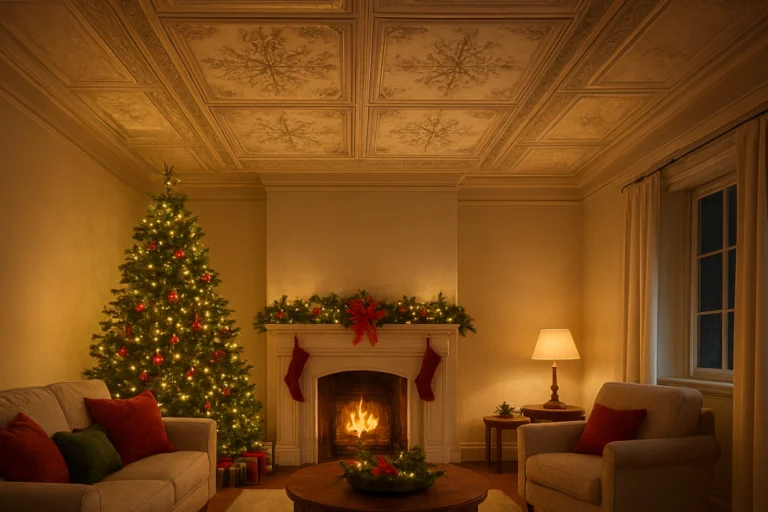
Theme 2: The “Traditional Manor” — Deep Greens and Gold Borders
This is the one for Christmas dinner. Rich, warm, genuinely luxurious — the kind of room that makes guests put down their phones and actually look around.
A deep forest green or hunter green ceiling in satin finish creates a cocoon-like intimacy that flat paint simply can’t replicate. Then you add a gold metallic border along the ceiling edges using Rust-Oleum Metallic Accents (Gold Mine) — and the room feels like it belongs in a country estate.
Don’t make the mistake of skimping on the border. In rooms with exposed mouldings or coffered panels, gold highlights along every edge produce results that look like the work of a professional interior designer. Pair it with warm amber Edison bulbs and brass candleholders, and the transformation is complete.
Pro Tip: Always use a satin finish for deep colors. It intensifies the richness and it’s far easier to wipe clean than flat paint — which matters at Christmas when there’s food and candle smoke around.
Specialty Christmas Ceiling Projects
Exposed Basement Ceilings: Turning Industrial Pipes Into a Feature
Most people treat an exposed basement ceiling like a problem to hide. Flip that thinking. Those pipes, ducts, and joists? They’re your design opportunity.
Two finishes dominate this space:
Matte Black — The most forgiving and dramatic choice. When every surface (pipes, joists, ductwork, ceiling deck) gets the same matte black treatment, the mechanical complexity visually disappears. What you’re left with is a moody, theatrical backdrop. Under warm Edison string lights draped across the joists, the effect at a Christmas party is genuinely stunning. I’ve seen guests assume it was a professional installation.
Forest Green — A softer alternative. Against wood furniture and warm amber lighting, a green exposed ceiling creates an earthy, cabin-in-the-woods atmosphere. Works best in basements with concrete floors and area rugs, where the green ceiling anchors the space visually.
Non-negotiable step: Use a rust-inhibiting primer on any bare metal pipes before your topcoat. Seasonal moisture fluctuates in basements, and bare metal will bleed through any paint you put over it. Spray application is far more efficient than rolling on irregular pipe surfaces.
Painted Ceiling Beams: The Highest-Impact, Lowest-Cost Transformation
Dark-stained beams absorb light and make rooms feel lower and heavier — the exact opposite of what holiday decorating tries to achieve. Here’s the real secret: painting those beams is one of the best-value projects in interior work, period.
Scandinavian White Beams Paint the beams to match a bright white ceiling and the room immediately feels taller, brighter, and more open. Against that clean backdrop, greenery garlands and string lights draped along beam edges stand out dramatically. This look aligns perfectly with the minimalist Nordic holiday aesthetic — and it’s the dominant trend in 2025.
Bold Contrast Black Beams Black beams against a white ceiling create a striking architectural grid. Especially effective in rooms with warm wood floors, where the black beams echo the dark wood tones below. Draping fairy lights along black beams for Christmas produces a magazine-worthy result. Simple to execute, impossible to over-do.
The Science of Light Reflection: Flat vs. Satin Finish
Most people choose a finish without thinking about how it’ll interact with their Christmas lighting. That’s a mistake. The finish you choose fundamentally changes how your holiday lighting performs.
| Finish | How It Works | Best For |
|---|---|---|
| Flat | Absorbs light, minimizes imperfections | Standard white ceilings, string lights that “float” |
| Satin | Reflects light actively, adds warmth | Bold/dark colors, smaller rooms where light bounces |
The real difference shows up in small rooms. Under warm-toned Christmas bulbs, a satin ceiling bounces light back into the room — the whole space feels warmer and brighter. For the Ice Palace theme, satin intensifies that shimmering quality. For the Traditional Manor’s deep green, satin adds a jewel-like depth that flat paint can’t replicate.
The rule I follow: Flat white for standard refreshes. Satin for any bold or dark color, and for any room where Christmas lighting is a central decorative element.
Step-by-Step Execution: Prep, Prime, Paint
Step 1 — Preparation: The Boring Part That Saves Your Christmas
Don’t skip this. Every shortcut in prep shows up in the finished ceiling.
- Dry-mop the ceiling with a microfiber mop to remove dust and cobwebs
- Fill cracks and nail holes with lightweight spackling compound
- Sand smooth after 30 minutes, wipe down again
- Apply painter’s tape along the ceiling-wall joint
- Lay drop cloths across the entire floor — paint mist travels further than you think
Step 2 — Prime When Necessary
Not every ceiling needs primer. But if yours has water stains, smoke marks, or you’re making a dramatic color change, primer is non-negotiable.
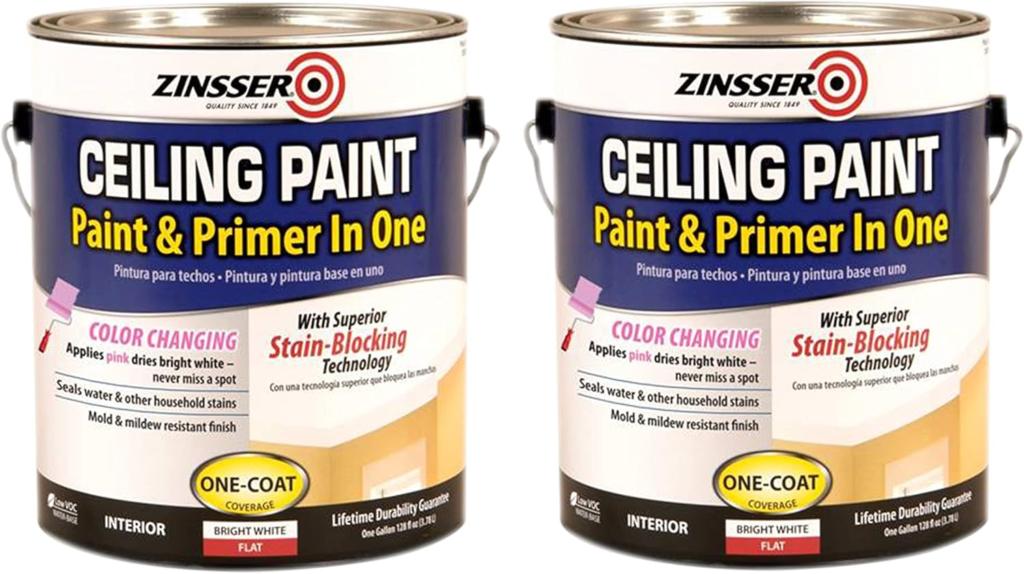
My go-to: Zinsser High-Hide Ceiling Pro. The thick, stain-blocking formula eliminates discoloration in a single coat. I’ve used it on ceilings with decades-old water rings and it handled them completely. Saves you from painting three coats of color trying to cover problems that primer solves in one.
Step 3 — Choose Your Application Tool
For large ceiling areas, manual rolling is physically brutal. Your arms aren’t designed for sustained overhead pressure.
The Wagner SMART Sidekick Power Roller eliminates that problem — it maintains consistent pressure across the roller without arm fatigue, feeds paint automatically (no tray), and significantly speeds up overhead work. If you’re painting more than one room this season, it pays for itself in effort saved.

Step 4 — The W-Pattern Rolling Technique
This is where most first-time painters go wrong.
- Load your roller fully
- Paint a large “W” or “M” shape across a 3×3-foot section
- Fill in the shape without lifting the roller, working back across the wet edge
- Always maintain a wet edge — moving too slowly causes lap marks
Pro Tip for beginners: Use INSL-X Color Changing Ceiling Paint. It applies pink and dries white — which means you can see exactly where you’ve painted and where you’ve missed. No guesswork, no patchy spots you only notice after cleanup.

Product Comparison: Best Christmas Ceiling Paints 2025
| Paint | Best For | Finish | Coverage | Dry Time | Hide Power |
|---|---|---|---|---|---|
| INSL-X Color Changing | Beginners, quick refresh | Flat white | 400 sq ft/gal | 1–2 hrs | ★★★★☆ |
| Zinsser High-Hide Ceiling Pro | Stained/older ceilings | Bright white | 350 sq ft/gal | 1 hr | ★★★★★ |
| Rust-Oleum Metallic Accents | Accent borders, beams | Metallic | Accent use only | 1 hr | ★★★☆☆ |
| Wagner SMART Sidekick | Application (tool, not paint) | N/A | Full ceiling | N/A | N/A |
Start With One Room
The ceiling is the most overlooked surface in holiday decorating — and the one that produces the most dramatic result once you address it.
Whether you’re executing an Ice Palace in the bedroom, a Traditional Manor dining room, transforming an exposed basement, or simply refreshing white paint before hanging Christmas lights — everything in this guide is achievable over a single weekend.
- First-time painters: Start with INSL-X. The color-change formula takes the anxiety out of it completely.
- Problem ceilings: Zinsser before anything else.
- Decorative details: Rust-Oleum Metallic Accents for borders and beams.
- Large areas: Wagner Power Roller if you want to finish before your arms give out.
Pick one room. Start with the ceiling. Everything else will look better because of it.
Published on thepaintly.com | All product links are affiliate links. thepaintly.com earns a commission on qualifying purchases at no additional cost to you.