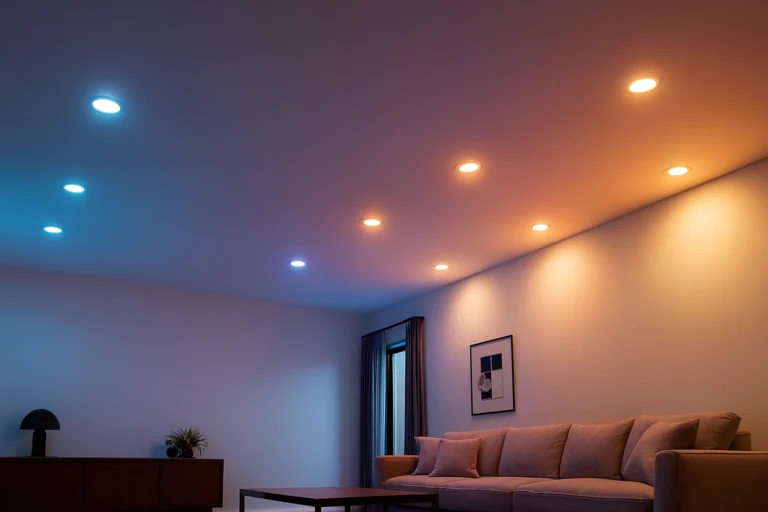
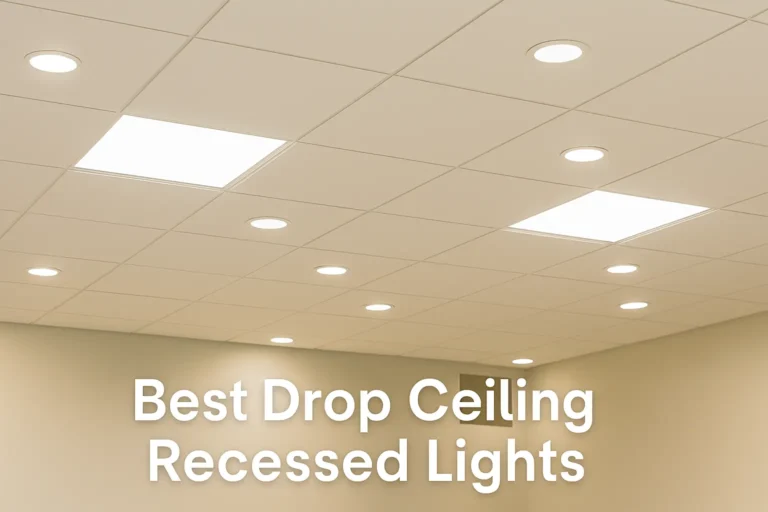
Best Recessed Light Housings: 6 Picks for 2026
Updated: June 2026 · By Sophie Ulman
The Housing Decides the Job — Pick the Can Before the Trim
The right recessed light housings are the part of a downlight nobody sees and everybody gets wrong. The housing is the can that sits above the ceiling and holds the trim and the lamp — and choosing it is not about looks, it is about three things that decide whether your install passes inspection and stays cool: whether it can touch insulation (IC rating), whether your ceiling is open or already finished (new-construction vs. remodel), and whether you have the depth above the ceiling to fit it. Get those wrong and you are cutting drywall twice or, worse, creating a fire-code violation in your own attic.
I have set cans in new framing and fished them into finished plaster ceilings, and the housing is where the install either goes smoothly or turns into a weekend of patching. The six recessed light housings below are sorted by the job they do best — from a do-everything IC-airtight new-construction can to a shallow housing for a tight joist bay — and every one is judged on the things that actually matter in a ceiling: insulation contact, fit, and how cleanly it goes in.
Quick Comparison: Best Recessed Light Housings
| Housing | Type | IC Rated | Best For | Check Price |
|---|---|---|---|---|
| Halo H7 IC Air-Tite 6″ — Best Overall | New construction | Yes + airtight | Insulated ceilings, new framing | Check Price → |
| Halo H99 Remodel IC 6″ — Best for Finished Ceilings | Remodel (old work) | Yes + airtight | Existing drywall, no attic access | Check Price → |
| Juno IC1 4″ — Best for Accent | New construction | Yes | Accent and small-aperture jobs | Check Price → |
| Shallow Low-Profile IC — Best Tight Bay | New / remodel | Yes | Shallow joist bays, 2×6 ceilings | Check Price → |
| Sloped-Ceiling Housing — Best Vaulted | Sloped new construction | Yes | Vaulted and sloped ceilings | Check Price → |
| Non-IC New Construction 6″ — Best Budget | New construction | No (3″ clearance) | Uninsulated ceilings on a budget | Check Price → |
6 Recessed Light Housings Reviewed
Halo H7 IC Air-Tite 6″ New-Construction Housing
If your ceiling joists are open and there is insulation up there, this is the can I reach for. IC means insulation-contact rated — the housing is built so attic insulation can sit right against it without trapping heat, which is exactly the situation that makes a non-IC can dangerous. The Air-Tite part seals the hole against air leaking from the conditioned room into the attic, the gap that quietly drives up heating bills around every downlight. It nails up to the joist before drywall, sets your ceiling height with a sliding bar, and accepts standard 6-inch trims and LED retrofit modules.
The honest caveat: it is a new-construction can, so it needs an open ceiling. You cannot push this up through a hole in finished drywall — for that you want the remodel version below. For new framing or a gutted ceiling with insulation, though, the IC-airtight combination is the right, code-friendly default.
✔ 6″ · IC + airtight · new construction · standard trim compatible
- Safe in direct contact with insulation
- Airtight seal cuts attic air leakage
- Trusted brand, standard trims fit
- Needs an open or gutted ceiling
- Costs more than a non-IC can
Best for: New framing or gutted, insulated ceilings where code and energy efficiency both matter.
Check Price on Amazon →Via Amazon.com
Halo H99 Remodel IC Air-Tite 6″
This is the one that saves you from tearing open a ceiling. A remodel (or “old-work”) housing is designed to install through a hole you cut in existing drywall — spring-loaded clips grab the top of the drywall and pull the can tight from below, no attic access needed. Like the new-construction Halo, it is IC-rated and airtight, so even when you are retrofitting into an insulated ceiling you stay code-safe and sealed.
The trade-off is that the drywall has to be able to hold the clips, so it is not ideal for crumbling plaster or very thick lath ceilings. Cut the hole with the supplied template, confirm there is depth above for the can, and it drops in cleanly. For adding cans to a room without opening the ceiling, this is the housing to buy.
✔ 6″ · IC + airtight · remodel/old-work clips · no attic access needed
- Installs through finished drywall
- IC and airtight for insulated ceilings
- Spring clips, no framing required
- Needs drywall that holds clips
- Still needs depth above the ceiling
Best for: Adding recessed lights to an existing room without cutting the ceiling apart.
Check Price on Amazon →Via Amazon.com
Juno IC1 4″ New-Construction Housing
Not every job wants a 6-inch can. A 4-inch housing throws a tighter, more focused pool of light, which is what you want for accent lighting, a hallway, a small bathroom, or a tighter spacing layout that looks intentional rather than spotty. Juno is a fixture brand electricians know, and the IC1 is its insulation-contact new-construction can. It takes 4-inch trims and small LED modules and mounts the same way as a 6-inch — bar hangers to the joists before drywall.
Because the aperture is smaller, you generally need more 4-inch cans than 6-inch to light the same area evenly, so plan the layout (and the budget) for the higher count. For accent work and smaller rooms, though, the 4-inch look is cleaner.
✔ 4″ · IC rated · new construction · tighter, focused beam
- Clean, focused accent light
- IC rated for insulated ceilings
- Right scale for small rooms
- Needs more cans per room
- New construction only
Best for: Accent lighting, hallways, and small rooms where a 6-inch can would look oversized.
Check Price on Amazon →Via Amazon.com
Shallow Low-Profile IC Housing
Standard cans are tall — often 7 to 8 inches deep — and that is a problem in a 2×6 ceiling, under a floor above, or anywhere the plenum is shallow. A shallow, low-profile IC housing solves it by packing the same IC-rated can into a fraction of the height, so it actually fits where a full-depth can would hit framing or subfloor. These are the housings that turn an impossible bay into a finished install.
You give up a little: shallow cans can be pickier about trim and module compatibility, and the very shallowest jobs may push you toward a canless integrated LED instead. Measure your available depth first — that number, more than anything, decides whether a shallow can or a canless fixture is your answer.
✔ Low-profile depth · IC rated · fits 2×6 bays · shallow-plenum solution
- Fits where full cans cannot
- IC rated despite shallow body
- Saves tearing into framing
- Pickier trim compatibility
- Very tight bays may need canless
Best for: 2×6 ceilings, rooms below a floor, and any shallow plenum where a full can will not fit.
Check Price on Amazon →Via Amazon.com
Sloped-Ceiling Recessed Housing
Drop a standard can into a sloped ceiling and the light aims at the far wall like a spotlight, not down at the floor. A sloped-ceiling housing has an angled mounting and a baffle cut to compensate, so on a vaulted or cathedral ceiling the beam points straight down where you want it. If your ceiling has any real pitch, this is not optional — it is the difference between even light and a row of glaring wall-washers.
These housings are slope-specific, so match the can to the pitch range your ceiling falls in, and pair it with a trim made for sloped use. It is a more specialized buy, but on a vaulted room nothing else lights it correctly.
✔ Angled for slope · IC rated · aims light straight down · vaulted-ceiling specific
- Correct beam aim on a slope
- Stops the wall-wash glare problem
- IC rated for insulated roofs
- Must match the pitch range
- Needs a slope-rated trim
Best for: Vaulted, cathedral, and sloped ceilings where a flat can would aim light at the wall.
Check Price on Amazon →Via Amazon.com
Non-IC New-Construction 6″ Housing
There is exactly one situation where a non-IC can is the right, cheaper choice: an uninsulated ceiling — a basement under a heated floor, a garage, or any bay with no insulation that will ever touch the can. Non-IC housings cost less and run cooler in open air, but they require at least 3 inches of clearance from any insulation, because they are not built to dump heat into it safely. In the right spot, that is a non-issue and you pocket the savings.
The hard rule: never bury a non-IC can in insulation to save a few dollars. If there is any chance insulation will end up against it, buy IC. Used correctly — open, uninsulated ceilings — this is a sound budget can.
✔ 6″ · non-IC (3″ insulation clearance) · new construction · lowest cost
- Lowest-cost housing option
- Runs cool in open, uninsulated bays
- Standard 6-inch trims fit
- Must keep 3″ from insulation
- Wrong for any insulated ceiling
Best for: Garages, basements, and uninsulated ceilings where no insulation will ever touch the can.
Check Price on Amazon →Via Amazon.com
Once the cans are in, the ceiling work decides how the finished job looks — new housings show every flaw in tired plaster around them. If you are retrofitting existing fixtures, our guide to retrofitting recessed lighting walks the wiring and the cut, and the best retrofit recessed lighting picks cover the canless route. Deciding between sizes? See 4-inch vs 6-inch recessed lighting, and for the full fixture picture our guide to choosing recessed ceiling lights ties housing, trim, and lamp together.
When a Can Housing Is the Wrong Choice
⚠ Skip a traditional can housing if:
- Your plenum is too shallow for any can. If even a low-profile housing will not fit, a canless integrated LED (a thin disc with a remote junction box) installs in a hole with almost no depth behind it. Measure before you commit to a can.
- You would bury a non-IC can in insulation. This is a fire-code violation, full stop. In any insulated ceiling, buy an IC-rated housing — never a non-IC can with insulation packed around it.
- Your ceiling has a real slope and you grab a flat can. A standard housing on a vaulted ceiling aims light at the wall and glares. Use a slope-rated housing, or you will redo it.
- The drywall is crumbling plaster. Remodel clips need solid drywall to grip. On failing plaster, the clips will not hold — repair the ceiling first or use a different mounting approach.
Sophie’s Experience: The Buried Non-IC Can
How Many Recessed Lights Does Your Room Need?
💡 Recessed Light Spacing Calculator
Buying Guide: IC Rating, Fit & Type
1. IC vs. Non-IC: The Spec That Comes First
IC stands for insulation-contact. An IC-rated housing is built so insulation can sit directly against it without overheating; a non-IC housing must have at least 3 inches of clearance from any insulation. The rule is simple: insulated ceiling means IC, every time. Non-IC cans only belong in open, uninsulated bays like a garage or unfinished basement. This is a safety spec, not a preference — burying a non-IC can is a genuine fire hazard.
2. New Construction vs. Remodel
New-construction housings nail to the joists before the drywall goes up — use them when the ceiling is open or gutted. Remodel (old-work) housings install through a hole cut in finished drywall, gripping it with spring clips, so you add cans to an existing room without opening the ceiling. Pick by the state of your ceiling, not the brand.
| Housing Type | Use When | IC Needed? | Notes |
|---|---|---|---|
| New construction | Open or gutted ceiling | If insulated | Bar hangers to joists |
| Remodel (old work) | Finished drywall | If insulated | Spring clips, no attic access |
| Shallow / low-profile | Tight joist bay | Yes | Measure depth first |
| Sloped ceiling | Vaulted / cathedral | Yes | Match the pitch |
3. Confirm Depth and Trim Compatibility
Before you buy, measure the depth above the ceiling — a full-depth can needs roughly 7 to 8 inches of clearance, a shallow can far less. Then confirm the trim and any LED module you want fits that housing’s aperture (4-inch or 6-inch are the common sizes). This Old House’s recessed lighting primer is a clear overview of housing types, and Family Handyman’s install guide covers the cut and the wiring step by step.
⚡ Pro Tips from the Field
Check the IC rating first: it is the one spec that is a safety issue, not a preference. Space cans at ceiling height ÷ 2: an 8-foot ceiling wants cans about 4 feet apart. Keep outer cans off the walls: about half the spacing in, or you wash the walls instead of the room. Prep beats product: paint or patch the ceiling before the trims go on — new cans make a tired ceiling look worse.
🎯 Verdict
For an open, insulated ceiling, the Halo H7 IC Air-Tite is the housing I trust — IC-rated, airtight, and code-friendly. Adding cans to a finished room? The Halo H99 remodel drops in through drywall with no attic access. Go Juno IC1 4″ for accent work, a shallow low-profile can for tight bays, and a sloped housing for any vaulted ceiling. The non-IC can is the budget pick only for uninsulated garages and basements. Whatever you choose, check the IC rating first, confirm your depth, and match the trim — the housing decides the job long before the trim does.
Frequently Asked Questions
What is the difference between IC and non-IC housings?
IC-rated cans can touch insulation safely and are required in any insulated ceiling. Non-IC cans need 3 inches of clearance from insulation and belong only in open, uninsulated bays. Burying a non-IC can is a fire hazard — check the IC rating first.
New construction vs remodel housing?
New-construction cans nail to joists before drywall (open ceiling). Remodel cans install through a hole in finished drywall with spring clips, no attic access. Choose by the state of your ceiling.
How deep do they need to be?
A full-depth can needs about 7–8 inches of clearance. A low-profile can fits in far less, and a canless LED fits where there is almost no depth. Measure before you buy.
4-inch or 6-inch?
6-inch for general room lighting; 4-inch for tighter, focused accent light in halls and small rooms. The 4-inch look needs more cans for the same area, so plan the count.
How far apart should cans be?
Divide ceiling height by two — an 8-foot ceiling wants cans about 4 feet apart. Keep the outer rows about half the spacing off the walls. Use the calculator above for your room.
Do sloped ceilings need a special housing?
Yes — a flat can on a slope aims light at the wall and glares. A sloped housing angles the beam straight down and must match your pitch and use a slope-rated trim.