How to Paint Your Car DIY and Get Professional Results at Home
סרטון
Introduction: Why DIY Auto Painting Can Save You Thousands
If you’ve ever wanted to know how to paint your car DIY and truly achieve showroom-quality results without a dealership price tag, you’re in the right place. Professional auto body shops charge anywhere from $1,000 to $10,000+ for a full repaint — a figure that puts most car owners in a difficult position. Consequently, more and more enthusiasts are turning to home-based solutions that deliver remarkable outcomes at a fraction of the cost.
The DIY auto painting movement has exploded in recent years, and it’s not hard to understand why. Furthermore, the tools and products available to home painters in 2026 are genuinely professional-grade. With the right preparation, the correct products, and a structured process, you can achieve a finish that rivals any body shop. In addition, you’ll gain a deep understanding of your vehicle and a sense of accomplishment that no check can buy.
Look at our guide for Best Engine Paint here
This guide walks you through every step — from setting up a proper spray environment to laying down that final crystal-clear coat. Whether you’re covering rust, refreshing faded paint, or doing a full color change, this is your definitive 2026 roadmap.
H2: Setting Up Your DIY Spray Booth with the Orion Motor Tech Portable Inflatable Paint Booth
One of the biggest mistakes beginner painters make is skipping a proper spray environment. Dust, wind, and humidity are the enemies of a clean finish. Consequently, investing in a controlled spray space isn’t optional — it’s essential.
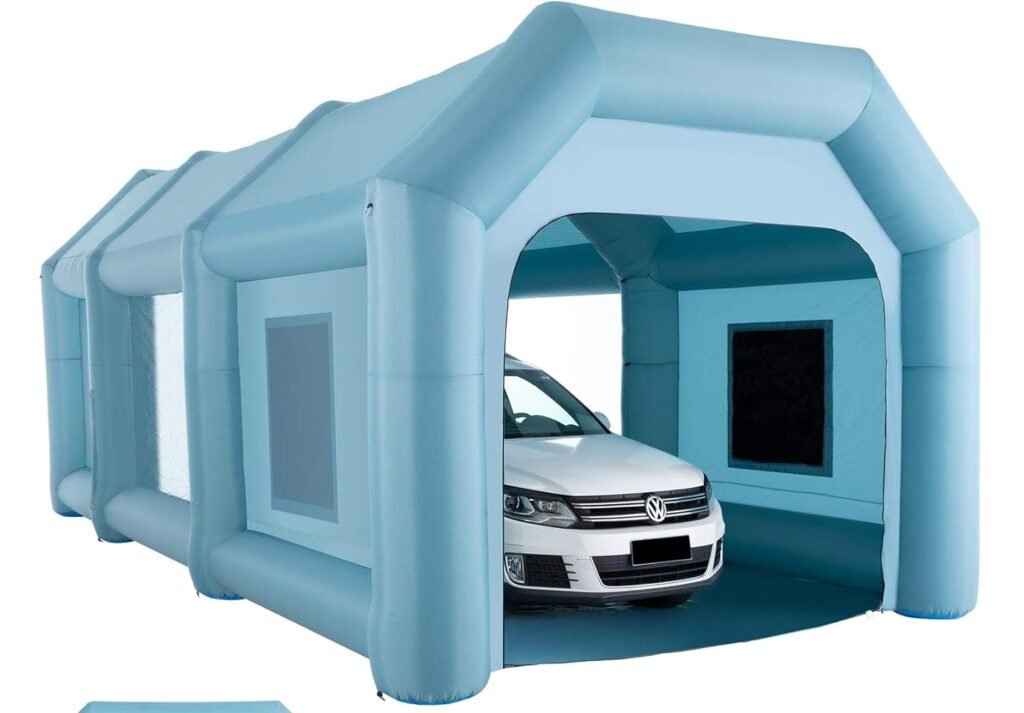
Why a Portable Inflatable Booth Changes Everything
The Orion Motor Tech Portable Inflatable Paint Booth is a game-changer for the home painter. Furthermore, it eliminates the need to rent a commercial spray booth, which can cost $50–$150 per session. This inflatable tent creates a sealed, dust-controlled environment that inflates in under five minutes.
Key features of the Orion Motor Tech booth:
- Full vehicle coverage with sealed zippered entry panels
- Built-in ventilation ports compatible with standard blower fans
- Weather-resistant PVC construction for outdoor and garage use
- Transparent paneling that maximizes natural and artificial light
- Compact storage when deflated — fits in a standard duffel bag
In addition, the controlled airflow design dramatically reduces paint overspray contamination, giving your finish a smoother, more professional look straight out of the gun.
CHECK PRICE HERE: Orion Motor Tech Portable Inflatable Paint Booth
Booth Setup Tips
Before inflating, choose a flat surface away from trees, and sweep or blow out your garage floor thoroughly. Consequently, any debris on the ground can kick up during spraying and ruin a wet coat. Position your blower fan at the rear vent and always ensure fresh air is entering from the front. Furthermore, hang a single work light inside the booth at a 45-degree angle to help you spot runs and thin spots as you work.
check our guide for How to Make a DIY Spray Paint Booth
H2: The Step-by-Step DIY Car Painting Process
Now that your environment is set, it’s time to walk through the full painting process. Furthermore, following these steps in sequence is non-negotiable — shortcuts here lead to peeling, bubbling, or uneven finishes that no amount of clearcoat can fix.

Step 1: Surface Preparation (The Most Important Phase)
Preparation accounts for roughly 80% of your final result. Consequently, this phase deserves the most time and attention. Start by washing the entire vehicle with a degreasing soap, then clay-bar the surface to remove embedded contaminants.
Sand all painted surfaces using the following progression:
- 180-grit to remove old clear coat and flatten rust edges
- 320-grit to smooth out the 180-grit scratches
- 600-grit wet sanding for the final smooth surface before primer
In addition, use a dual-action orbital sander for large panels and hand-sand contours and door jambs. After sanding, wipe every surface down with a tack cloth and then an IPA (isopropyl alcohol) wipe to eliminate all oil and dust.
Step 2: Addressing Paint Chips and Scratches with Dupli-Color Scratch Fix
Before you spray your base coat, deal with any chips, deep scratches, or small rust spots using the Dupli-Color Scratch Fix. This product is uniquely valuable in the DIY workflow because it delivers factory-matched color in a precision pen applicator, allowing spot-level repairs that integrate seamlessly with your overall paint job.
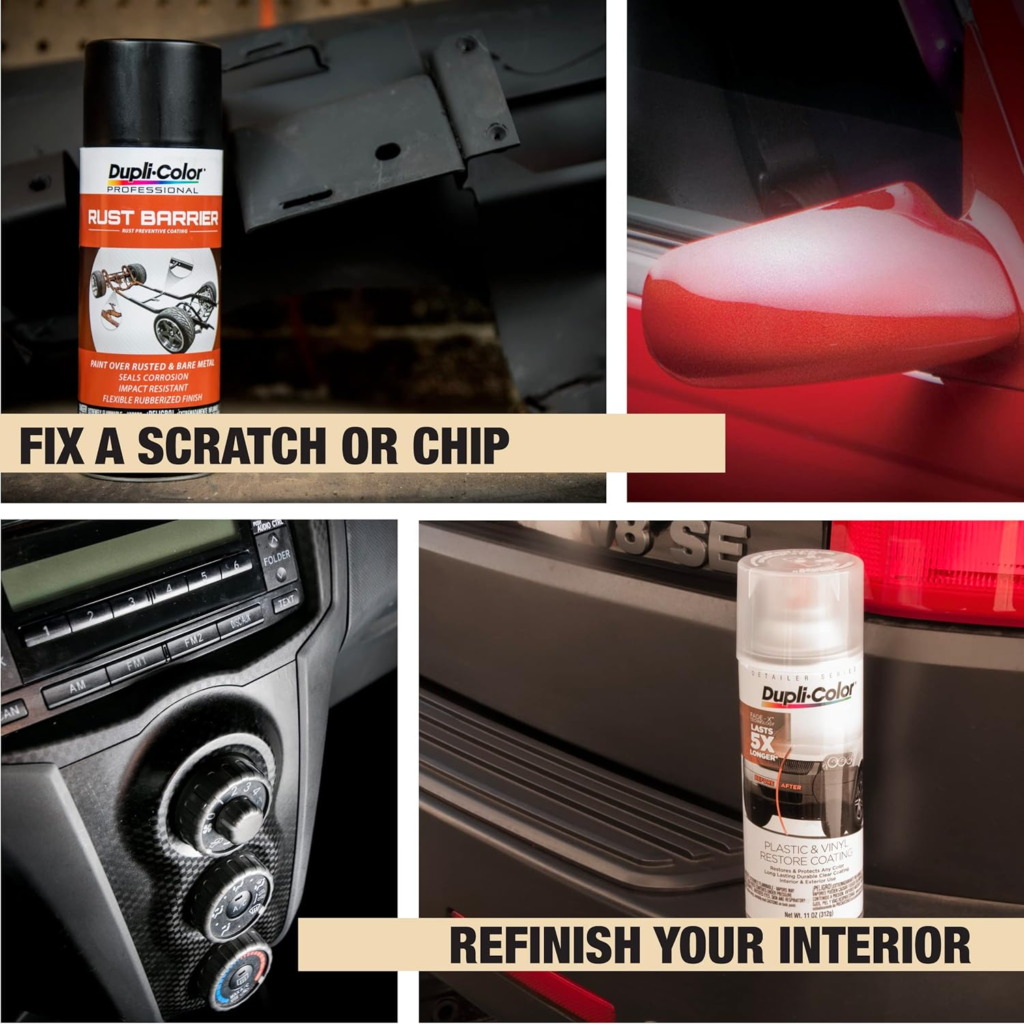
Apply the Dupli-Color Scratch Fix in thin, layered passes. Furthermore, allow each layer to flash off (approximately 5–10 minutes) before adding the next. Consequently, building up thin layers prevents the micro-pooling that causes a raised “blob” look on the repaired area. Once dried fully (24 hours), wet sand with 800-grit before proceeding.
CHECK PRICES HERE FOR: Dupli-Color Scratch Fix All-in-1 Touch-Up Paint
Step 3: Masking and Priming
Mask off all glass, rubber trim, wheels, and emblems with automotive masking tape and paper. Furthermore, use a flexible fineline tape around curves and door edges for clean separation lines. In addition, tape off any areas where you want a clean color boundary.
Apply your primer in two to three thin coats, allowing 15–20 minutes between coats. Consequently, a well-primed surface gives your base coat maximum adhesion and helps you identify any remaining imperfections before color goes on. Spot-block sand any primer runs with 400-grit before your color stage.
Step 4: Applying the Base Color Coat
Mix your base color according to your paint supplier’s ratio. Hold your spray gun (or can) 6–8 inches from the surface, overlapping each pass by 50%. Furthermore, use a consistent, fluid arm movement — stopping mid-panel causes sags and tiger-striping.
Apply two to three medium-wet coats of base, allowing adequate flash time between each. In addition, watch your lighting angle carefully — the Orion booth’s internal light helps you catch holidays (thin or missed areas) in real time. Consequently, catching these early means you fix them before the clear goes on, not after.
Step 5: Sealing the Finish with USC Spray Max 2K High Gloss Clearcoat
This step is where your paint job transforms from amateur to professional. The USC Spray Max 2K High Gloss Clearcoat is a two-component (2K) aerosol clearcoat that chemically cross-links after activation, creating a rock-hard, UV-resistant finish comparable to what’s sprayed in commercial booths.
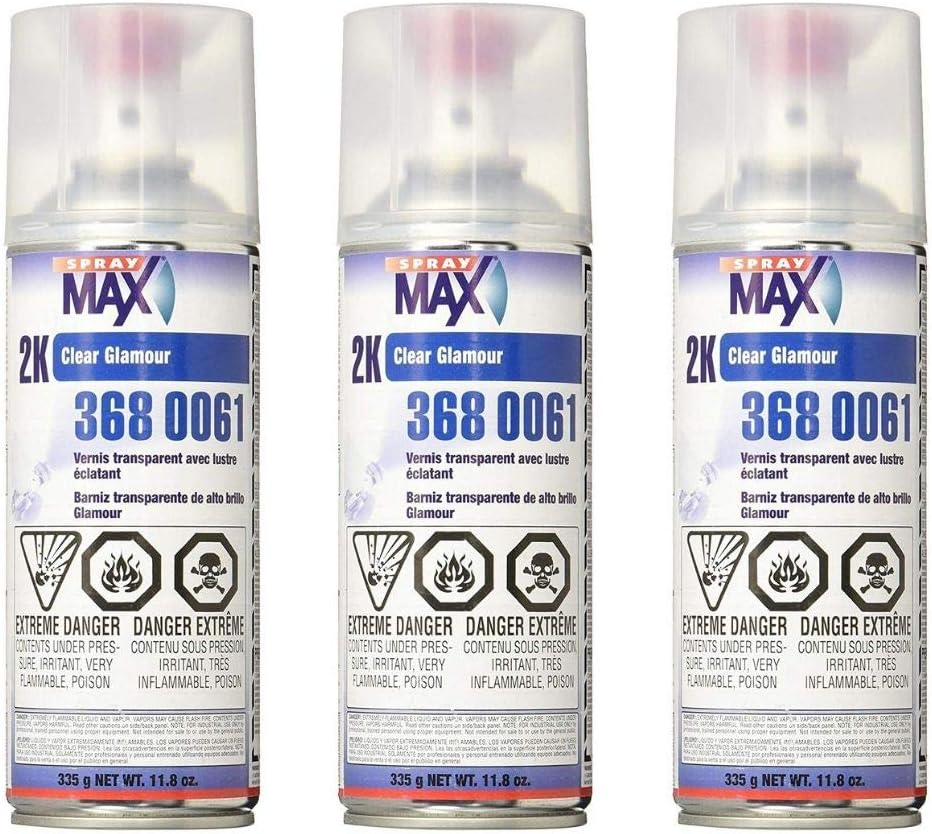
To activate the 2K can, press the button on the bottom firmly until you feel it click. Furthermore, shake vigorously for two full minutes after activation. You have approximately 24–48 hours to use the can once activated, so plan your clear-coat session accordingly.
Apply the USC Spray Max 2K in three wet coats, with 10-minute flash times between each. Consequently, this builds the film thickness required for machine polishing later. In addition, the high-gloss formula self-levels beautifully in a controlled booth environment, reducing orange peel texture significantly.
CHECK PRICES HERE: USC Spray Max 2K High Gloss Clearcoat Aerosol
Step 6: Final Wet Sanding and Polishing
After your clear coat cures for a minimum of 24 hours (48 is ideal), begin wet sanding with 1500-grit, followed by 2000-grit, and finally 3000-grit. Furthermore, this step removes any orange peel, dust nibs, or light runs without breaking through the clear. Consequently, the surface will look hazy and dull at this stage — that’s normal.
Machine polish with a DA polisher using a medium-cut compound followed by a finishing polish. In addition, finish with a spray wax or paint sealant for long-term protection. The result: a smooth, mirror-like surface that looks completely professional.
Clearcoat Durability Comparison Table
Choosing the right clearcoat is critical for longevity. Furthermore, not all aerosol clears are equal. Here’s how the USC Spray Max 2K stacks up against common alternatives:
| Product | Type | Hardness | UV Resistance | Polishable | Avg. Durability | DIY-Friendly |
|---|---|---|---|---|---|---|
| USC Spray Max 2K High Gloss | 2-Component (2K) | Very High | Excellent | Yes | 5–7 years | ✅ Yes |
| Rust-Oleum 2X Clear | 1K Acrylic Lacquer | Low | Poor | No | 1–2 years | ✅ Yes |
| Dupli-Color Clear | 1K Acrylic | Low–Medium | Fair | Limited | 2–3 years | ✅ Yes |
| Automotive Shop Urethane | 2K Urethane | Very High | Excellent | Yes | 7–10 years | ⚠️ Gun Required |
| SprayMax 3-1 Primer Clear | 2K Epoxy-Urethane | High | Good | Yes | 4–6 years | ✅ Yes |
Consequently, for any serious DIY paint job where durability and gloss retention matter, the 2K clearcoat category is the clear winner. In addition, the USC Spray Max 2K uniquely bridges the gap between aerosol convenience and professional-grade chemistry.
Mandatory Affiliate Product Blocks
🔧 Featured Product #1: Dupli-Color Scratch Fix
Best For: Touch-up repairs, paint chip correction, pre-paint prep Why We Recommend It: Factory-matched colors, precision pen applicator, integrates with full paint jobs Skill Level: Beginner–Intermediate
CLICK HERE TO CHECK PRICES FOR: Dupli-Color Scratch Fix All-in-1 Touch-Up Paint
🏠 Featured Product #2: Orion Motor Tech Portable Inflatable Paint Booth
Best For: Home painters who need a clean, controlled spray environment Why We Recommend It: Inflates in minutes, fits full vehicles, eliminates contamination Skill Level: All levels
CLICK HERE TO CHECK PRICES FOR: Orion Motor Tech Portable Inflatable Paint Booth
✨ Featured Product #3: USC Spray Max 2K High Gloss Clearcoat
Best For: Final clearcoat on full repaints and panel repairs Why We Recommend It: True 2K chemistry in aerosol form, professional hardness, UV stable, polishable Skill Level: Intermediate
CLICK HRE TO CHECK PRICES FOR: USC Spray Max 2K High Gloss Clearcoat Aerosol
Conclusion: Your Professional DIY Paint Job Starts Today
Learning how to paint your car DIY is one of the most rewarding skills an automotive enthusiast can develop. Furthermore, with the right setup — particularly the Orion Motor Tech Inflatable Booth — and premium products like the Dupli-Color Scratch Fix and USC Spray Max 2K clearcoat, the quality gap between home and commercial results is smaller than ever in 2026.
Consequently, the investment in quality materials pays off not just in finish quality, but in longevity. A well-executed 2K clearcoat job can protect your vehicle’s color for five to seven years or more. In addition, the skills and confidence you build on your first project carry directly into every future repair and respray.
Take your time on prep, trust your process, and don’t rush the cure times. Furthermore, the painters who get the best results are never the fastest ones — they’re the most methodical. Your car deserves nothing less than your best effort, and this guide gives you everything you need to deliver exactly that.
[INSERT INTERNAL LINK HERE: Common DIY Paint Mistakes and How to Avoid Them on thepaintly.com]
ThePaintly.com is a participant in the Amazon Services LLC Associates Program. As an Amazon Associate, we earn from qualifying purchases. All product recommendations are based on independent research and editorial judgment.