Are you looking to transform your old furniture, kitchen cabinets, or home decor items with a chic and modern finish? Making your own chalk paint at home is a simple and budget-friendly way to achieve a smooth, matte finish. Not only is it cost-effective, but creating custom colored chalk paint lets you get the exact shade you desire, all with just a few ingredients.
What is Chalk Paint?
Before diving into the steps of making your own chalk paint, it’s essential to understand what it is. Chalk paint is a type of paint known for its ultra-matte finish, ease of use, and ability to adhere to various surfaces without requiring extensive prep work. It’s popular for DIY furniture and cabinet makeovers, especially when you want that vintage, rustic look.
Ingredients Needed for Homemade Chalk Paint
The beauty of chalk paint lies in its simplicity. You don’t need complex ingredients to make it at home. Here’s a quick rundown of what you’ll need:
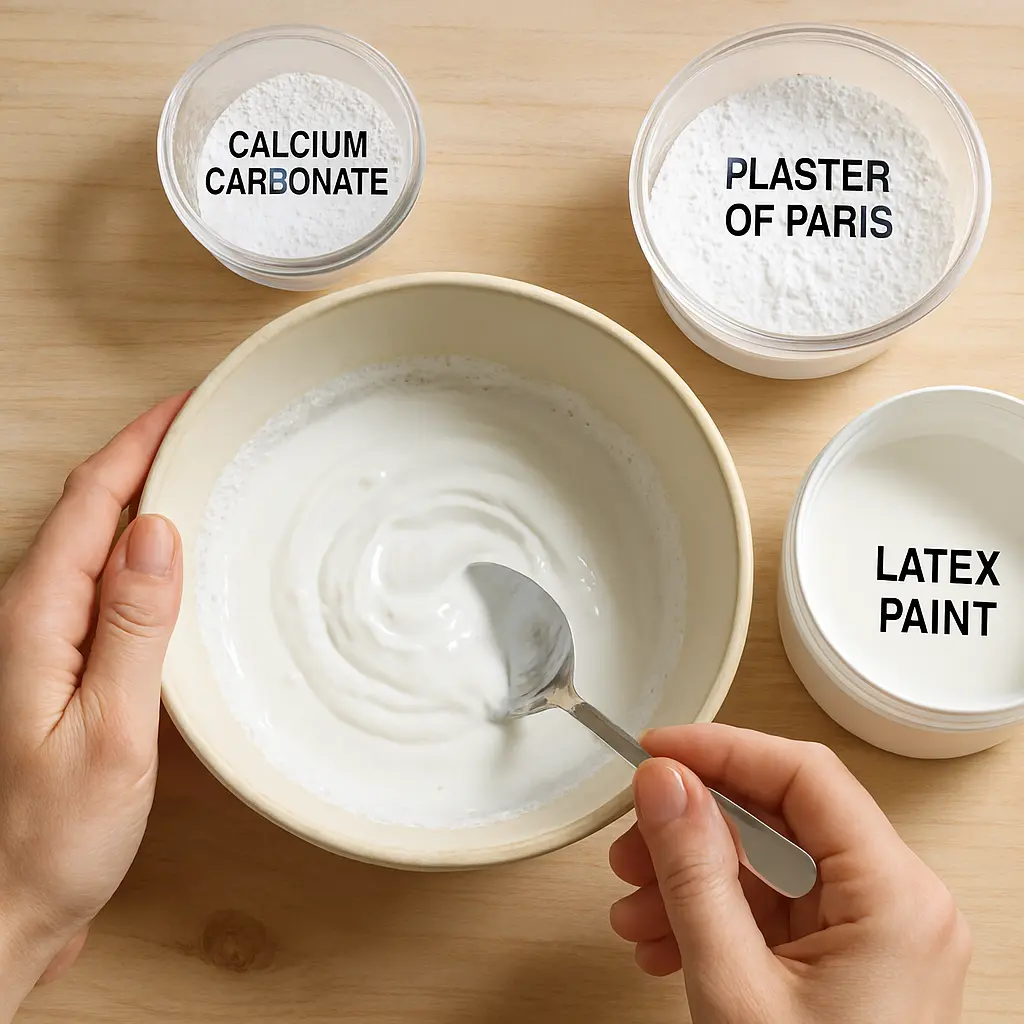
- Calcium Carbonate: This is the key ingredient for achieving the chalky finish.
- Water: To help dissolve the calcium carbonate.
- Latex Paint: This serves as the base for your chalk paint.
- Plaster of Paris (optional): This helps to give the paint a thicker consistency, but is entirely optional.
Step-by-Step Guide to Making Chalk Paint at Home
Making custom chalk paint at home is easier than you might think! Here’s how you can do it in just a few simple steps.
1. Prepare the Ingredients
Start by gathering your ingredients. You’ll need:
- 1/3 cup of Calcium Carbonate.
- 1/3 cup of Water.
- 1 ½ cups of Latex Paint (pick your favorite color!).
- Optional: 1 tbsp of Plaster of Paris (to thicken the paint for more texture).

2. Mix the Calcium Carbonate with Water
In a separate container, mix the calcium carbonate with water to make a smooth paste. Stir well to avoid any lumps. This mixture will give your paint its signature texture and matte finish.
3. Combine the Mixture with Latex Paint
Add the paste you just made to your latex paint. Stir thoroughly to ensure the mixture is completely incorporated, and you have a smooth consistency.
4. Optional: Add Plaster of Paris for Thickness
If you want a thicker paint, add 1 tbsp of plaster of Paris. This step is optional, but it will help with the paint’s consistency, especially if you’re using it for thicker applications.
5. Test the Paint Consistency
Once your paint is mixed, test its consistency. If you want a smoother finish, add more water. For a thicker paint, add a little more calcium carbonate or plaster of Paris.
Tips for Using Your Custom Colored Chalk Paint
- Chalk Paint for Kitchen Cabinets: When using chalk paint for kitchen cabinets, make sure to apply a sealant to protect the finish, especially in high-traffic areas like countertops and sink areas. You can use a clear wax or polyurethane for added durability.
- Thickness of the Paint: If you prefer a thicker chalk paint finish, adding a bit more calcium carbonate will do the trick. Thicker paint is ideal for surfaces that need more coverage or texture.
- Layering: Chalk paint dries quickly, so you can layer it as many times as needed to get the desired finish.
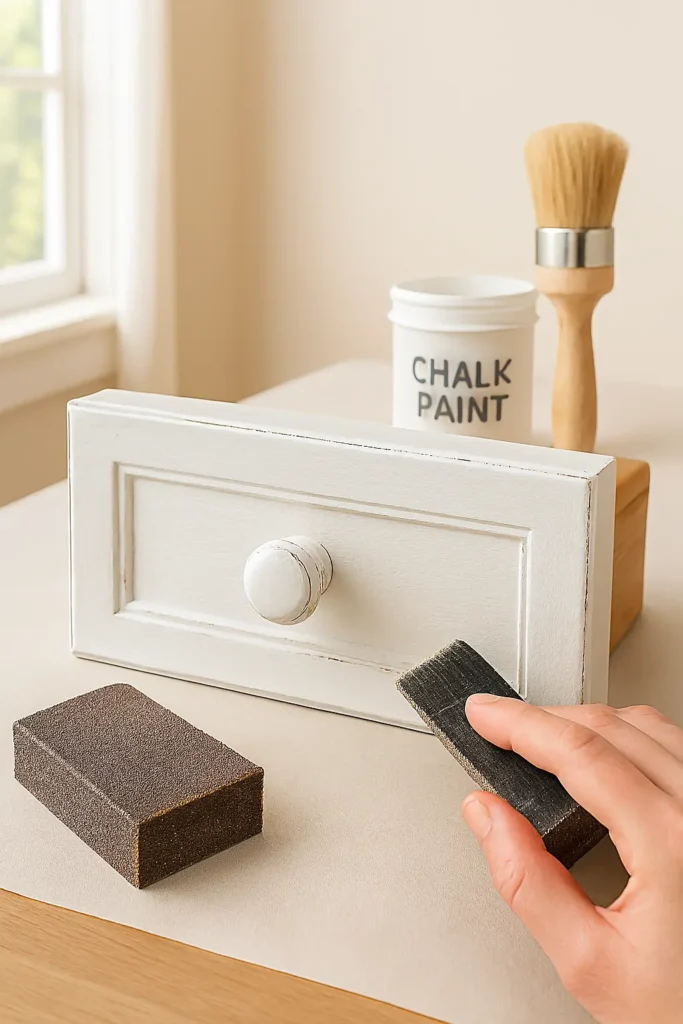
- Sanding: For a distressed look, lightly sand between coats or after the final coat.

Advantages of Homemade Chalk Paint
Creating your own chalk paint isn’t just about saving money. There are several advantages to making your own paint:
- Custom Colors: You can mix any color of latex paint you want and create a chalk paint that suits your style perfectly. Whether it’s a soft pastel or a bold, deep hue, you can easily customize your paint.
- Control Over Consistency: Unlike store-bought chalk paints, homemade versions let you control the consistency and thickness to match your project needs.
- Non-toxic and Eco-friendly: Using natural ingredients like calcium carbonate makes homemade chalk paint a safer and more eco-friendly choice.
How to Use Chalk Paint for Furniture Makeovers
Chalk paint is perfect for furniture makeovers because of its ability to adhere to most surfaces without heavy sanding or priming. Here’s how you can revamp an old piece of furniture:
- Clean the Surface: Start by cleaning the furniture thoroughly to remove any dirt, dust, or oils.
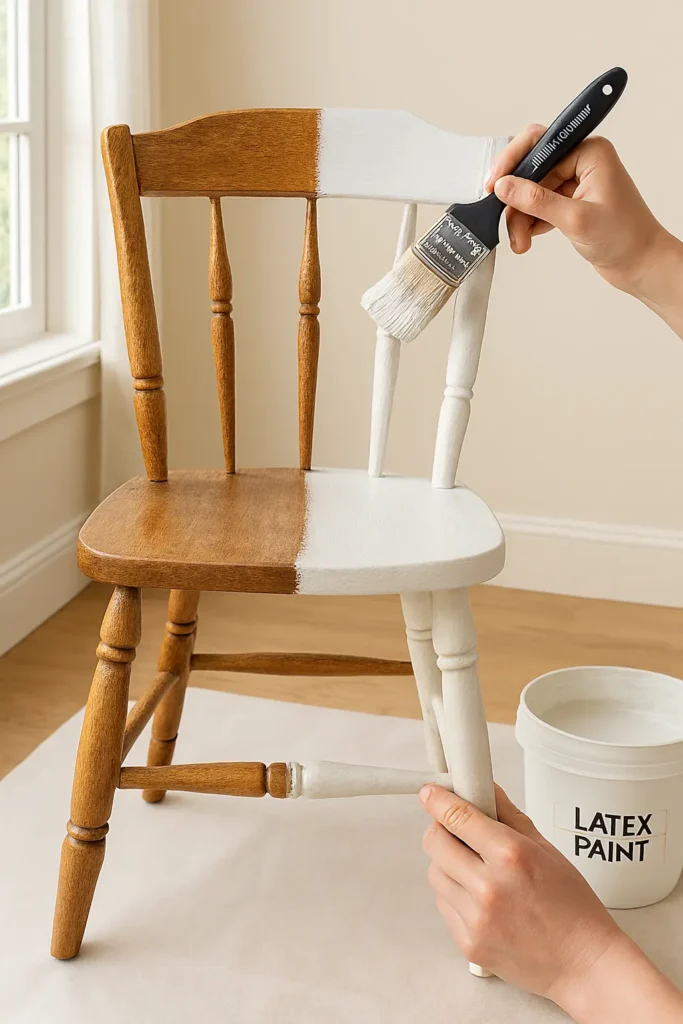
- Apply Chalk Paint: Use a brush or a foam roller to apply a thin coat of your custom chalk paint. Let it dry before applying a second coat.
- Distress (Optional): If you want a vintage or rustic look, lightly sand the edges of your painted furniture after it dries to reveal some of the wood beneath.
- Seal: Finally, apply a wax or polyurethane sealant to protect the paint and give it a soft sheen.

Best Uses for Homemade Chalk Paint
Chalk paint isn’t just for furniture! Here are some creative ways to use homemade chalk paint around your home:
- Kitchen Cabinets: Give your kitchen a new life with chalk-painted cabinets. Just make sure to seal the paint with a protective topcoat.
- Decorative Pieces: Create beautiful vases, frames, and other decor items with your custom-colored chalk paint.
- Wall Art: You can even use chalk paint for wall art or as a base for stenciling and other decorative techniques.
Conclusion: Why You Should Make Your Own Chalk Paint
Making custom colored chalk paint at home with 4 ingredients is a simple, affordable, and creative way to transform your space. Whether you’re revamping kitchen cabinets, furniture, or home decor, this easy DIY recipe allows you to create personalized pieces that fit your style perfectly. Not only does it give you control over the texture and color, but it’s also an eco-friendly alternative to store-bought options.

Leave a Reply