How to Make Custom Colored Chalk Paint at Home with 4 Ingredients
Why Homemade Chalk Paint Is a Game-Changer for Budget-Friendly Furniture Restoration
If you have ever stood in a paint store staring at a $45 can of branded chalk paint, you already know the frustration. The good news? Homemade chalk paint delivers the same velvety, matte, ultra-adherent finish at a fraction of the cost — and in 2026, the DIY furniture restoration community has never been stronger or better informed. Specifically, seasoned restorers have refined the ratios, tested the additives, and documented exactly what works. Consequently, whether you are upcycling a thrift-store dresser or refreshing your kitchen cabinets, making your own chalky paint from scratch is one of the most empowering skills you can add to your DIY toolkit.
Furthermore, the ability to mix any color from any latex base means your creative options are virtually unlimited. In addition, the savings are significant: a batch that costs under $5 in materials can cover the same surface area as a $40+ commercial tin. This guide walks you through every detail — from the chemistry of that iconic chalky texture to the brushwork technique the pros use — so your results are polished, durable, and genuinely beautiful.
The Science of “Chalky” Texture: Understanding Homemade Chalk Paint Additives
Not all DIY chalk paint recipes are created equal. Consequently, understanding why each additive produces a different finish is the key to choosing the right method for your project. There are three common household additives people reach for: baking soda, Plaster of Paris, and calcium carbonate powder. Specifically, each one interacts with latex paint in a distinct way.
Baking Soda
Baking soda is the most accessible option and creates a lightly chalky, somewhat gritty finish. However, it can cause bubbling if over-mixed and tends to produce an inconsistent texture, particularly on smooth surfaces. Furthermore, it does not bond as deeply with the latex binder, which can result in a finish that feels powdery rather than velvety.
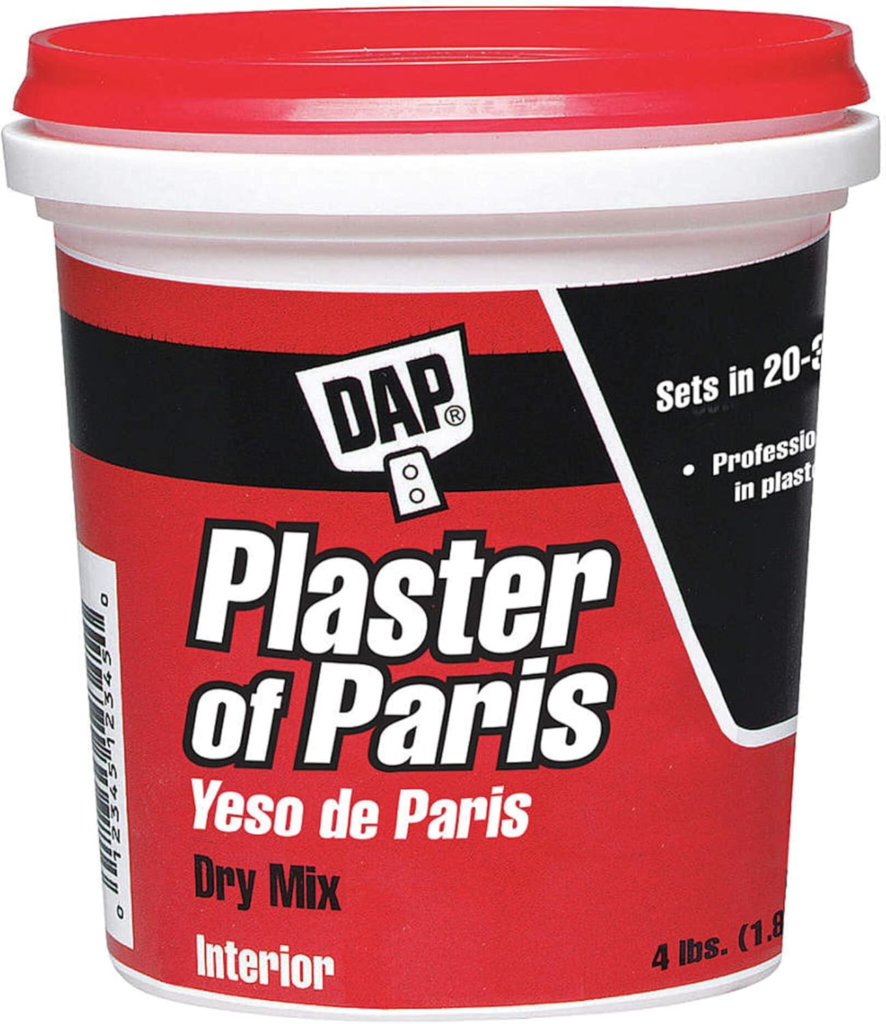
Plaster of Paris
Plaster of Paris produces a heavier, more textured finish with excellent tooth — meaning it grips surfaces aggressively. In addition, it dries faster, which is ideal for humid climates or back-to-back coats. The trade-off is that it shortens working time considerably and can produce a slightly chalky film if the ratio is too high. Specifically, it is the preferred additive for distressing projects where you want visible brushwork and rustic edges.
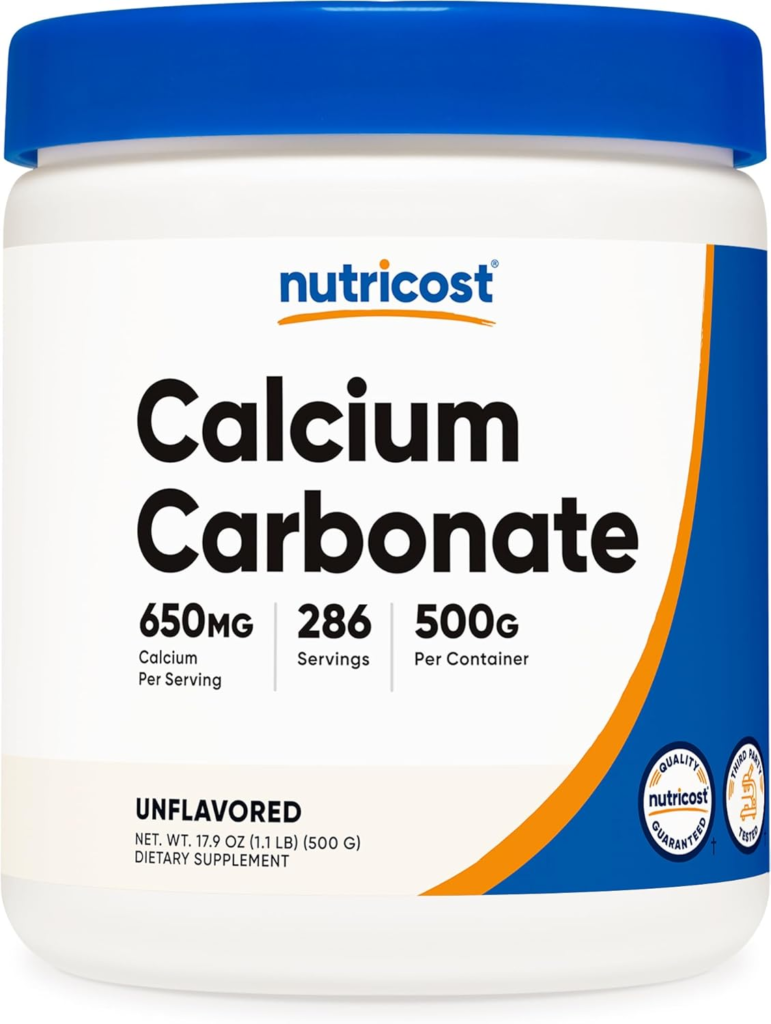
Calcium Carbonate Powder (The Pro’s Choice)
Calcium carbonate — also known as whiting powder — is the professional restorer’s go-to. Consequently, it produces the smoothest, most even chalky texture without grit, graininess, or reduced working time. Furthermore, it does not react with the latex binder, meaning it integrates seamlessly to create a finish that is genuinely matte, velvety, and luxurious. In addition, because it is inert, it will not affect colour vibrancy — your pigments stay true.
The Ultimate 4-Ingredient Homemade Chalk Paint Recipe
This is the recipe professional restorers use — refined for a non-gritty, buttery, true-matte finish that adheres without priming on almost any surface.
Your 4 Ingredients
- Latex paint (any sheen, any colour — flat or eggshell works best as the base)
- Calcium carbonate powder (for the smoothest result) or Plaster of Paris (for heavier texture)
- Warm water
- Optional: unsanded tile grout (for an ultra-thick, heavily distressed finish)
The Ratios (Makes approx. 250ml / 1 cup of chalk paint)
| Ingredient | Ratio |
|---|---|
| Latex paint | 4 tablespoons (60ml) |
| Calcium carbonate powder | 1 tablespoon (15ml) |
| Warm water | 1–2 teaspoons (5–10ml) |
For Plaster of Paris variation:
| Ingredient | Ratio |
|---|---|
| Latex paint | 4 tablespoons (60ml) |
| Plaster of Paris | 1.5 teaspoons (7.5ml) |
| Warm water | 1 tablespoon (15ml) |
Pro Tip: Always pre-mix the calcium carbonate or Plaster of Paris with warm water into a smooth paste before adding paint. This prevents clumping and ensures even distribution throughout the batch.
Step-by-Step Mixing Instructions
- In a small bowl or jar, combine your powdered additive with warm water. Stir vigorously until you have a lump-free paste — approximately 60 seconds of active mixing.
- Add your latex paint to the paste. Specifically, pour the paint over the paste (not the other way around) to control consistency.
- Stir slowly and thoroughly for 2 minutes. Consequently, a gentle figure-eight motion prevents air bubbles from forming.
- Test consistency on a piece of cardstock. The paint should coat without dripping and dry to a matte, chalky finish within 5–10 minutes.
- Adjust: add a few drops more water to thin, or a pinch more powder to thicken. In addition, always re-test before moving to your final surface.
Custom Colour Mixing: Transform Any Latex Base into a Designer Matte Shade
One of the most powerful advantages of homemade chalk paint is the ability to achieve any colour imaginable. Furthermore, with a few colour theory principles, you can move far beyond generic off-whites and reach genuinely sophisticated, designer-level shades.
Choosing Your Base
Start with a white or near-white flat latex as your base for the most colour-accurate results. Specifically, pre-tinted latex paint in any colour also works — simply use it as your base and adjust from there.
Adding Colour with Universal Tints
Universal tinting pigments (available at hardware stores) blend cleanly into your homemade chalk paint recipe. In addition, artist’s acrylic paints are excellent for small-batch colour customisation — just ensure they are fully incorporated.
Trending 2026 Colour Palettes for Chalk Paint Furniture:
- Warm Terracotta + Raw Linen — for Mediterranean-inspired console tables
- Sage Green + Stone White — for cottagecore kitchen chairs
- Dusty French Blue + Aged Cream — for classic armoires and buffets
- Deep Charcoal + Soft Black — for contemporary upcycled accent pieces
Colour Mixing Pro Tips
Consequently, always mix more than you think you need — colour-matching a second batch is extremely difficult. In addition, test every custom colour on a painted piece of card and let it dry completely before committing to your furniture, as chalk paint always dries 15–20% lighter than it appears wet.
Application Guide: Surface Prep and the Cross-Hatch Brushing Technique
Surface Preparation (Yes, You Still Need to Clean It!)
One of the most common myths about chalk paint is that it requires zero prep. While chalk paint does adhere without sanding or priming, skipping cleaning is a recipe for disaster. Specifically, oils, grease, wax residue, and dust will prevent adhesion at the microscopic level — and your beautiful finish will peel within weeks.
Pre-Paint Cleaning Checklist:
- Wipe the entire surface with a damp cloth to remove dust
- Clean with a degreaser or diluted dish soap on kitchen furniture and heavily used pieces
- For previously waxed furniture, specifically use a wax remover or mineral spirits before painting — wax is chalk paint’s greatest enemy
- Allow the surface to dry completely — minimum 30 minutes, ideally 1 hour
- Lightly sand any peeling paint or rough patches with 120-grit sandpaper, then wipe clean
Essential Tool: The Right Brush Makes All the Difference
check amazon prices HERE: Purdy Chalk Paint Brush — Professional Oval Paint Brush
The Purdy chalk paint brush is specifically designed for the irregular, slightly textured surface coverage that chalk paint demands. Furthermore, its natural-synthetic blend bristle holds the thicker paint consistency without dragging or leaving hard lines. In addition, the oval shape allows you to access furniture curves, legs, and carved details that a standard rectangular brush cannot reach.
The Cross-Hatch Brushing Technique
The cross-hatch technique is the professional method for achieving even coverage with visible, intentional texture that gives furniture that handcrafted, artisan quality.
- Load your brush — dip approximately one-third of the bristle length into the paint. Specifically, do not overload; chalk paint is thicker than standard wall paint.
- First pass — horizontal strokes — apply paint in long, even horizontal strokes across your surface.
- Second pass — vertical strokes — while the paint is still slightly wet, immediately brush back over the horizontal strokes in a vertical direction. Consequently, this creates the characteristic woven texture.
- Feather the edges — on the final pass, use light, barely-loaded strokes to feather out any visible brush marks at the edges and joins.
- First coat drying time — allow 45–60 minutes before applying a second coat. Furthermore, do not force-dry with a heat gun as this can cause cracking.
- Second coat — apply using the same cross-hatch method. In addition, two thin coats always outperform one thick coat for both coverage and durability.
Comparison Table: Homemade vs. Store-Bought Chalk Paint
| Factor | Homemade Chalk Paint | Store-Bought Chalk Paint |
|---|---|---|
| Cost per litre | $3–$8 | $30–$55 |
| Colour options | Unlimited — any latex colour | Limited to brand range |
| Consistency | Variable — requires practice | Consistent batch to batch |
| Additive control | Full control over texture | Fixed formula |
| Availability | Any hardware store | Specialty paint/craft stores |
| Durability (unsealed) | Comparable | Comparable |
| Durability (sealed) | Excellent with Polycrylic | Excellent with wax or Polycrylic |
| Shelf life | Use within 24–48 hours | 1–2 years sealed |
| Skill required | Beginner–Intermediate | Beginner |
| Eco/Custom pigments | Fully customisable | Brand-dependent |
Verdict: For budget DIY restorers, high-volume projects, or anyone wanting total creative control, homemade chalk paint is the clear winner on value and versatility. Store-bought chalk paint is worth the premium for small, precision projects where consistency is critical.
The Sealing Secret: Why Wax Isn’t Always Best (Especially for Kitchen Cabinets)
Wax is the traditional chalk paint sealer — and for decorative pieces, side tables, and display furniture, it remains a beautiful, authentic choice. However, for kitchen cabinets, bathroom vanities, dining tables, or any furniture that sees heavy daily use, wax has significant limitations. Specifically, wax is not heat-resistant, is vulnerable to water rings and grease, and requires re-application every 12–18 months.
The Professional Alternative: Polycrylic
check prices on amazon for Minwax Polycrylic Protective Finish — Water-Based Clear Coat
Minwax Polycrylic Protective Finish is the sealer professional restorers specifically recommend for chalk-painted furniture that needs to withstand real-world conditions. Furthermore, it is water-based, meaning it dries crystal clear without the yellowing that oil-based polyurethane can introduce over light and white chalk paint colours. In addition, it is food-safe when fully cured, making it ideal for kitchen and dining applications.
How to Apply Polycrylic Over Chalk Paint
- Allow chalk paint to cure for a minimum of 24 hours after the final coat.
- Lightly sand with 220-grit sandpaper — just enough to knock back any dust nibs. Wipe clean.
- Apply Polycrylic in thin, even coats using a high-quality synthetic brush or foam roller. Specifically, avoid over-brushing as this introduces bubbles.
- Allow 2 hours between coats.
- Apply a minimum of 2 coats for standard furniture; 3–4 coats for kitchen cabinets or table tops.
- Final cure time before heavy use: 72 hours.
Pro Note: For a wax-like soft sheen, use Polycrylic in a matte finish. For a slightly elevated satin look, choose satin. Consequently, both finishes preserve the essential matte character of chalk paint while delivering dramatically superior protection.
Recommended Products & Affiliate Picks
To summarise, here are the four essential products featured in this guide:
- CHECK PRICES ON AMAZON HERE: Bulk Calcium Carbonate Powder — The professional’s additive of choice for smooth, non-gritty homemade chalk paint.
- CHECK PRICES ON AMAZON HERE: Plaster of Paris 4 lb. — For heavily textured, fast-drying chalk paint with maximum tooth.
- CHECK PRICES ON AMAZON HERE: Purdy Chalk Paint Brush — Oval Bristle — The brush that delivers professional cross-hatch coverage and reaches every curve.
- CHECK PRICES ON AMAZON HERE: Minwax Polycrylic Protective Finish — Matte or Satin — The mandatory sealer for any chalk-painted furniture that needs to last.
Conclusion: Start Mixing, Start Creating
Making your own homemade chalk paint is one of the most rewarding, accessible, and genuinely useful skills in the DIY furniture restoration toolkit. Consequently, once you have mastered the basic 4-ingredient recipe, you will find yourself seeing every thrift-store chair, dated cabinet, and worn side table as a blank canvas. Furthermore, with the cross-hatch technique, the right brush, and a professional sealer like Polycrylic, your finished results will be indistinguishable from pieces painted with premium commercial brands — at a fraction of the cost.
In addition, the ability to mix custom colours on demand means your furniture transformations are always truly original. Specifically, no two pieces need ever look the same. The only thing left to do is choose your first project, pick your palette, and start mixing.
Published by thepaintly.com | Professional Furniture Restoration & Decorative Paint Guides | Updated for 2026