How to Thin Latex Paint: A Complete Guide for DIYers and Professionals
If you’ve ever cracked open a fresh can of latex paint and applied it straight to your sprayer or brush, you’ve likely experienced the frustrating consequences — orange-peel texture, tip clogs, heavy lap marks, or uneven coverage. Consequently, understanding the science behind paint viscosity is the single most important step a painter can take before applying a single drop.
Viscosity, in simple terms, is a fluid’s resistance to flow. Specifically, latex paint is formulated at the factory to a viscosity that balances shelf stability, pigment suspension, and coverage — not necessarily optimal sprayability or brush-and-roll smoothness. Furthermore, factors like temperature, humidity, and storage age all cause that viscosity to shift, often dramatically, between the factory floor and your job site.
In addition, the chemistry of modern latex paints involves water-dispersed acrylic or vinyl-acrylic polymers held in suspension with thickeners like hydroxyethyl cellulose. These thickeners are highly sensitive to shear force and dilution. As a result, knowing how to thin latex paint — and precisely how much — is a skill that separates professional-grade results from amateur frustration.
Section 1: Tools of the Trade — Why How to Thin Latex Paint Requires More Than Just Water
Many DIYers assume that thinning latex paint is simply a matter of adding water. While water is indeed the primary diluent for water-based coatings, relying on water alone is a common and costly mistake. Specifically, adding too much water degrades the binder-to-pigment ratio, reducing hide, sheen, washability, and adhesion.
Water: The Foundation
Clean, room-temperature water remains the most accessible and effective diluent for latex paint. However, it works best in small quantities — generally no more than 10–15% by volume — and only when the paint is within a normal viscosity range to begin with.
Floetrol: The Professional’s Conditioner
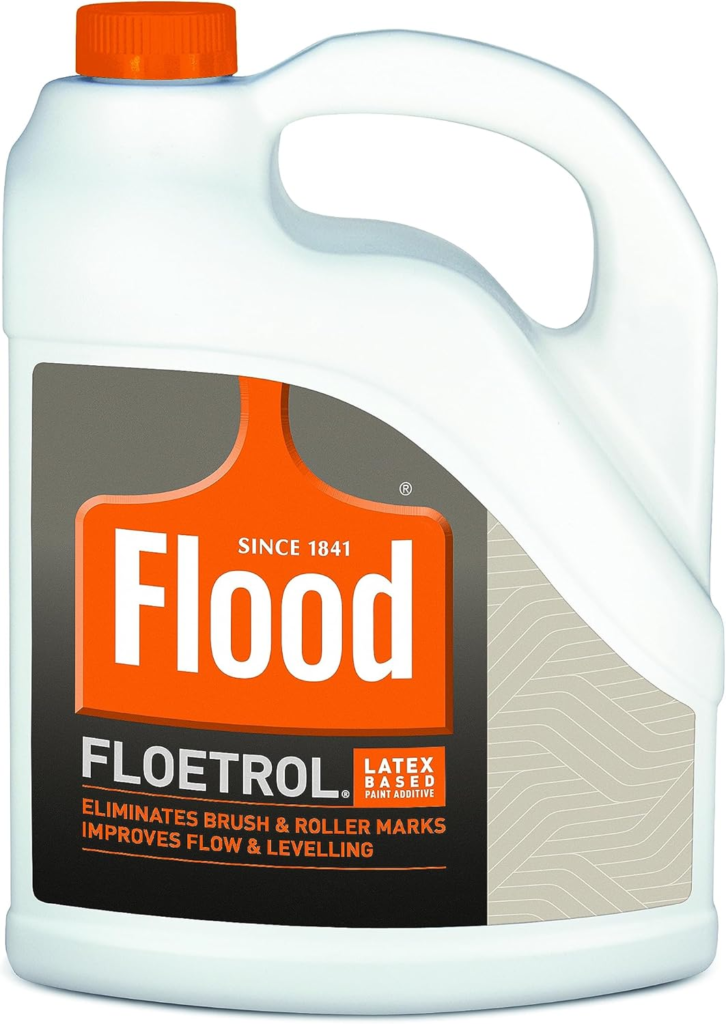
For professional results, Floetrol Latex Paint Conditioner is the industry standard additive that every serious painter should have on hand. Furthermore, Floetrol does something water cannot: it extends the open time of the paint, reducing brush drag and allowing the paint film to level more completely before it begins to skin. Specifically, Floetrol works by replacing some of the water that has already evaporated from a thickened can, restoring the paint’s flow characteristics without sacrificing film integrity or coverage.
In addition, Floetrol is particularly indispensable in hot, dry, or windy conditions where flash drying — the rapid surface skinning of paint before proper leveling — is a persistent problem. Consequently, painters working outdoors in summer or in low-humidity climates should default to Floetrol rather than water whenever possible.
Graco Magnum X5: Precision Delivery
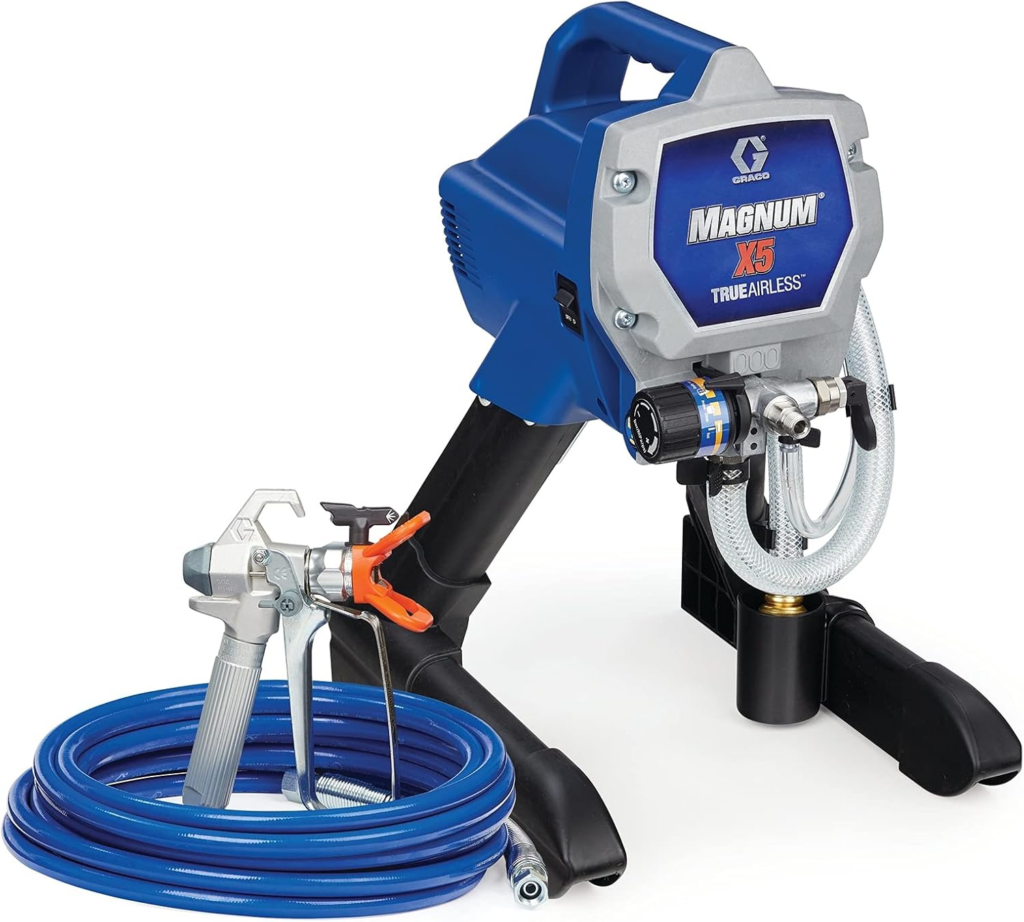
Furthermore, even a perfectly thinned paint will underperform if your delivery equipment isn’t up to the task. The Graco Magnum X5 Airless Paint Sprayer is the benchmark entry-level professional sprayer, capable of handling properly thinned latex at consistent pressure without the tip clogging that plagues lesser units. In addition, its flexible suction tube allows direct spraying from a 1- or 5-gallon bucket, minimizing the handling and agitation that can introduce air bubbles into thinned paint.
Check our guide for best airless paint sprayers
Section 2: The Viscosity Test — How to Thin Latex Paint with Professional Accuracy
Guessing at paint consistency is a recipe for wasted product and poor results. Consequently, professionals use a viscosity cup — specifically a Zahn Cup — to take the guesswork out of thinning entirely.
What Is a Zahn Cup?
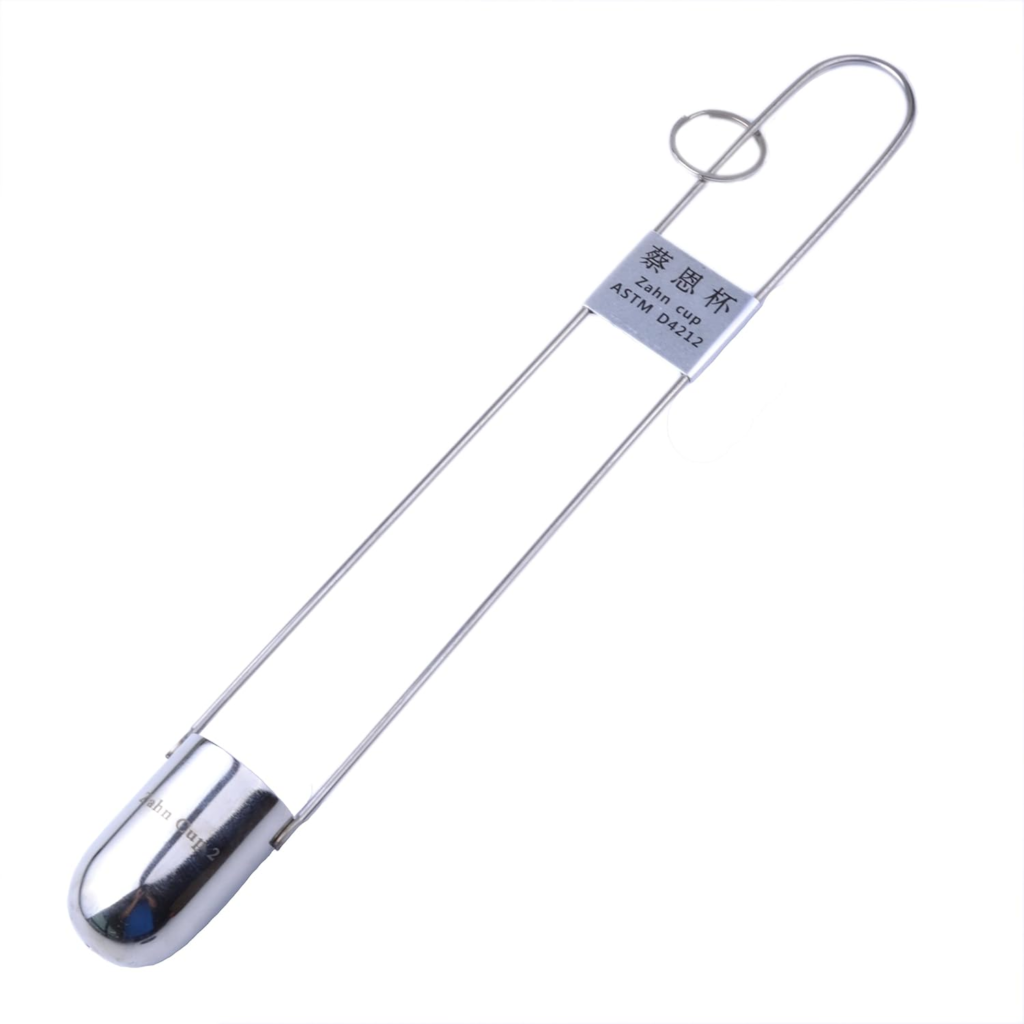
A Zahn Cup is a small, cone-shaped metal cup with a precisely calibrated orifice at the bottom. Furthermore, it provides a simple, standardized measurement of viscosity: you dip the cup into paint, lift it out, and count the number of seconds it takes for the flow to break from a solid stream into drips. Specifically, that number — expressed in seconds — corresponds directly to a known viscosity range, allowing you to thin with precision rather than guesswork.
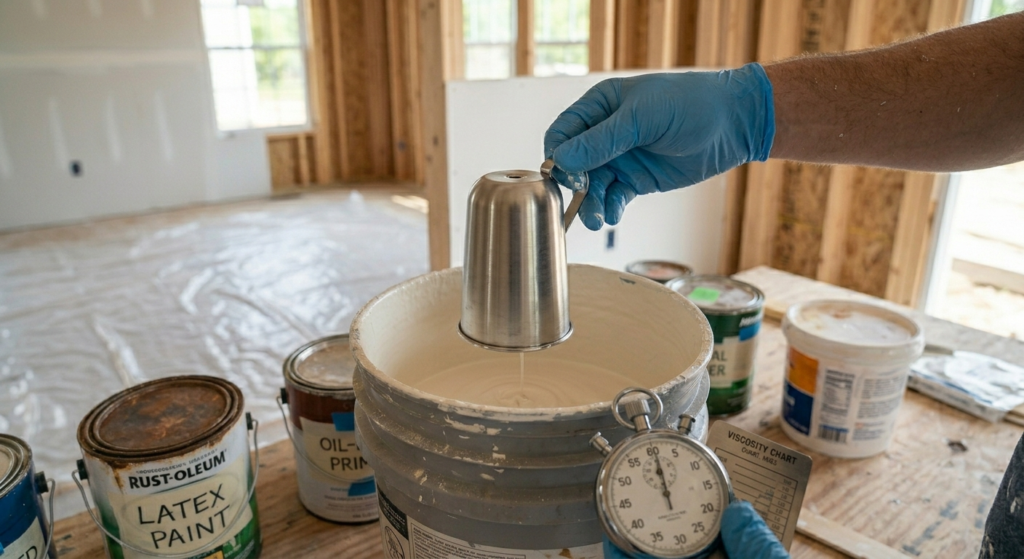
Step-by-Step Viscosity Testing Protocol
- Stir the paint thoroughly for a minimum of 3 minutes using a mechanical mixer or drill-mounted paddle. Consequently, any settled pigment or thickener is fully re-incorporated before measurement.
- Dip and lift the Zahn Cup cleanly, holding it level over the paint bucket. In addition, make sure the cup is fully submerged before lifting to ensure a consistent, air-free measurement.
- Start your timer immediately as the cup clears the paint surface, and stop it the moment the solid stream breaks into droplets.
- Reference your target range. Specifically, for most latex paints:
- Brush/roller application: 60–80 seconds (Zahn #2 cup)
- HVLP sprayer: 25–35 seconds
- Airless sprayer: 40–55 seconds
- Add diluent in 5% increments, stir for 2 full minutes, and re-test. Furthermore, never add more than 15% water in a single stage — allow the thickeners time to fully absorb the additional moisture.
CHECK OUT OUR 2026 Beginner’s Guide to Paint Spray Guns
Section 3: Application-Specific Thinning Ratios
One of the most common mistakes painters make is applying the same thinning ratio regardless of how they’re applying the paint. Consequently, different tools require dramatically different viscosities for optimal results.
HVLP Sprayers
High-Volume Low-Pressure (HVLP) sprayers atomize paint at comparatively low air pressure. Specifically, this means the paint must flow freely through a small fluid needle and tip — typically 1.3mm to 1.8mm for latex. Consequently, HVLP applications generally require the most aggressive thinning: 15–20% water, or the equivalent addition of Floetrol per label directions, to reach the 25–35 second Zahn range. Furthermore, straining the thinned paint through a Wagner SprayTech Paint Strainer before loading your HVLP cup is non-negotiable.
Airless Sprayers
Airless sprayers — like the Graco Magnum X5 — operate at high hydraulic pressure and can handle thicker fluids than HVLP units. Specifically, most interior latex walls and ceilings can be sprayed with only 10–12% thinning, reaching a Zahn reading of 40–55 seconds. In addition, for exterior paints — which are formulated thicker for durability and weather resistance — 15% thinning is typically appropriate. Consequently, over-thinning exterior coatings is particularly damaging, as it reduces their ability to bridge surface imperfections and resist moisture infiltration.
Brush and Roller Application
For brush and roller work, thinning is often unnecessary with fresh paint. However, in warmer temperatures or with older paint that has thickened in storage, adding 5–10% water or a measured dose of Floetrol dramatically improves brushability and reduces lap marks. Specifically, Floetrol is superior to water for trim and cabinet work, where longer open time allows for better leveling on vertical and semi-vertical surfaces.
Detailed Trim and Cabinetry
Furthermore, when finishing fine trim, millwork, or cabinets — where brush marks are magnified by close inspection — the standard approach is to add Floetrol at the manufacturer’s recommended rate (typically 1 cup per gallon) rather than water. Consequently, this maintains full film build while dramatically improving flow and leveling. In addition, a soft-bristle brush in the 2″–2.5″ range, combined with properly conditioned paint, will deliver near-spray-quality results on detailed surfaces.
Section 4: Thinning Ratio Comparison Table
The table below provides a professional-grade reference for thinning ratios, adjusted for both application method and ambient temperature. Specifically, temperature has a significant effect on latex viscosity — cold paint flows like cold honey, while warm paint may already be close to the ideal range.
| Application Method | Ideal Zahn #2 (sec) | Temp ≤ 50°F | Temp 50–75°F | Temp > 75°F |
|---|---|---|---|---|
| Brush / Roller (walls) | 60–80 | 10–12% water | 5–8% water | 0–5% + Floetrol |
| Brush / Roller (trim/cabinets) | 65–80 | Floetrol only | Floetrol only | Floetrol only |
| HVLP Sprayer | 25–35 | 18–20% water | 15–18% water | 12–15% water |
| Airless Sprayer (interior) | 40–55 | 12–15% water | 10–12% water | 8–10% water |
| Airless Sprayer (exterior) | 45–60 | 15–18% water | 12–15% water | 10–12% + Floetrol |
Note: All percentages represent volume of diluent relative to volume of paint. Furthermore, always add diluent gradually, test, and adjust. Specifically, cold-weather thinning requires extra care — paint applied too thin in cold conditions will sag before it sets.
Check out our Complete Guide for DIYers and Professionals for How to Thin Latex Paint
Section 5: Troubleshooting — Fixing Over-Thinned Paint and Preventing Flash Drying
Even experienced painters occasionally over-thin a batch. Consequently, knowing how to recover — rather than waste an entire gallon — is an essential skill.
Fixing Over-Thinned Paint
The fundamental reality of over-thinning is that you cannot remove water from paint once it has been added. Consequently, the only effective recovery strategies involve either diluting the problem or replacing the film-building capacity that was lost.
Specifically, the two most practical approaches are:
- Blend with fresh, unthinned paint. If you’ve over-thinned by a significant margin, mixing your thinned batch 50/50 with fresh paint from the same can or a new can of the same product will bring viscosity back into range. Furthermore, this approach preserves sheen and hide better than any other recovery method.
- Apply thinner coats and add additional coats. In addition, if blending isn’t an option, apply the over-thinned paint in very thin, even passes — particularly with a sprayer — and plan on applying an additional full-strength coat once the thinned coats have cured. Specifically, this is most effective on smooth, sealed surfaces where the over-thinned coat still provides adequate adhesion.
Preventing Flash Drying
Flash drying — where the surface of a brushed or rolled coat skins over before the paint has had time to level — is one of the most underappreciated causes of poor finish quality. Specifically, it creates a wrinkled or pebbly texture on walls, and visible brush marks on trim that refuse to flow out. Furthermore, it is most common in hot, dry, windy conditions or when painting near HVAC vents.
The most effective preventive measure is the use of Floetrol, which extends open time by slowing the initial evaporation phase of drying without affecting long-term cure. In addition, closing windows and HVAC vents during application, working in the cooler parts of the day, and maintaining a wet edge throughout the coat will all significantly reduce flash drying incidents. Consequently, painters who combine these practices with properly conditioned paint consistently produce smoother, more professional results than those who rely on technique alone.

Check our guide on How to Get Paint to Dry Fast HERE
Conclusion and Affiliate Product Summary
Mastering how to thin latex paint is, at its core, a discipline of precision — measuring viscosity scientifically, matching your diluent choice to your application conditions, and applying the right ratio for the right tool. Furthermore, it is one of the highest-leverage skills a painter can develop, because even average technique produces excellent results when the paint is properly conditioned.
The four tools that will transform your thinning process are:
- Floetrol Latex Paint Conditioner — For superior flow, leveling, and flash-dry prevention on every project
- Wagner SprayTech Paint Strainers — To eliminate tip clogs and ensure clean, consistent atomization
- Graco Magnum X5 Airless Paint Sprayer — The professional standard for efficient, high-quality latex paint application
- Digital Viscosity Cup (Zahn Cup) — For taking the guesswork out of thinning with precise, repeatable measurement
Consequently, investing in these tools pays for itself within the first major project — in saved paint, fewer do-overs, and finishes that genuinely stand out. In addition, once you’ve established a viscosity-testing habit, you’ll find that painting becomes faster, less stressful, and more consistently satisfying.