How to Fix Paint Drips on Walls, Ceilings and Wood
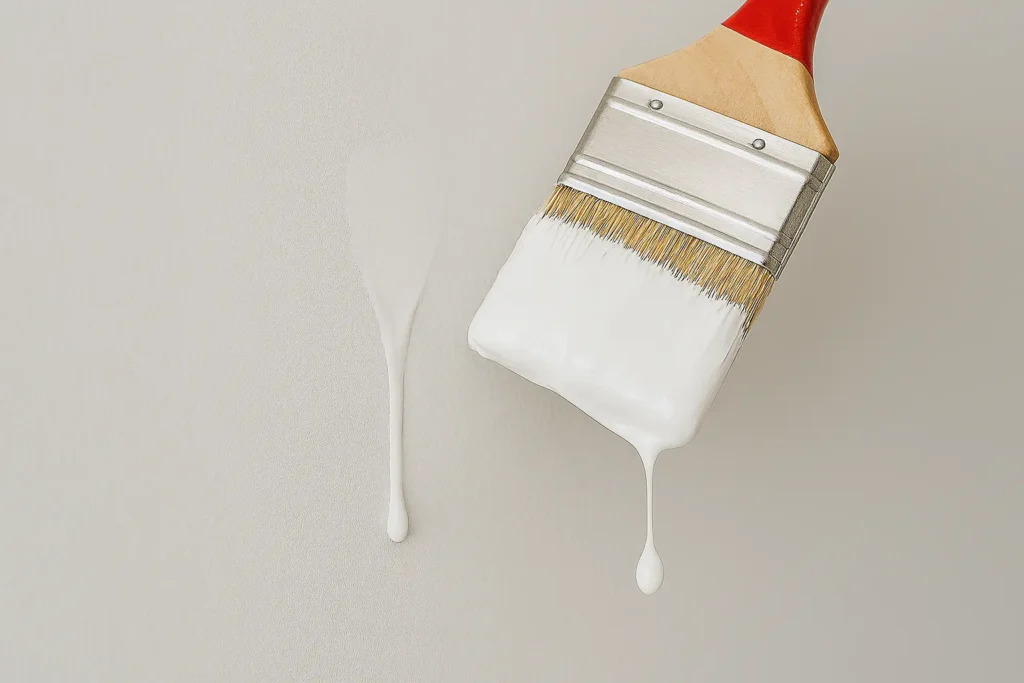
Paint drips are one of the most common frustrations when working on walls, ceilings, or wood surfaces. Whether you are painting with a brush, roller, or sprayer, those uneven drips of paint can ruin an otherwise smooth finish. The good news is that you can easily fix them and restore a flawless look.
This guide covers how to fix paint drips at every stage — wet, tacky, and fully cured — plus the one timing window most people get wrong.
Here is the rule that saves the most work: fix it in the first two minutes or wait a full 24 hours. There is a middle window, roughly ten minutes to overnight, where the paint has skinned on the surface but is still soft underneath. Touch a drip in that window and you tear the skin, drag soft paint sideways, and turn a pencil-thin run into a palm-sized smear. That window is where a small problem becomes a repaint.
I have made that mistake on my own hallway. I spotted a run about fifteen minutes after rolling, decided to feather it out with the roller, and pulled a wet strip a foot wide off the wall. The lesson stuck: after the first couple of minutes, put the brush down and come back tomorrow with sandpaper. Sanding a cured drip takes five minutes. Chasing a half-set one costs you the whole wall.
Quick pick: for the blending pass after a drip is sanded out, I use a FoamPRO fine finish roller. It lays down less texture than a standard nap, so the repair is harder to spot.
What Causes Paint Drips?
Understanding why paint drips form is the first step to avoiding them:
- Applying too much paint in a single coat
- Holding a sprayer too close to the surface
- Using a paint brush dripping with excess paint
- Using low-quality or thin paint with poor viscosity
Underneath all four is the same mechanism. Modern latex paint is thixotropic — it thins under the shear of the brush or roller and thickens again once it stops moving. That is what stops it running. Drips happen when the film is laid on thicker than it can re-thicken to hold, so gravity wins before the viscosity recovers. Everything that fixes drips is really about keeping the wet film thin enough for that recovery to happen.
Three conditions make it much worse and none of them are obvious:
- Cold surfaces. Below about 50°F the paint stays fluid far longer and runs freely. An exterior wall in the shade on a cool morning will drip from a coat that behaves perfectly in the afternoon sun.
- Over-thinning. Water added past the manufacturer’s limit destroys the thixotropy permanently. If you had to thin it, see how to thin latex paint for the ratios that still hold on a vertical surface.
- Glossy or sealed substrates. A porous wall pulls moisture out of the film and it sets fast. Gloss trim, sealed wood, and previously enamelled surfaces absorb nothing, so the film stays wet and slides. Trim drips far more readily than drywall for exactly this reason.
How to Fix Paint Drips on Walls
When you notice drips while painting walls:
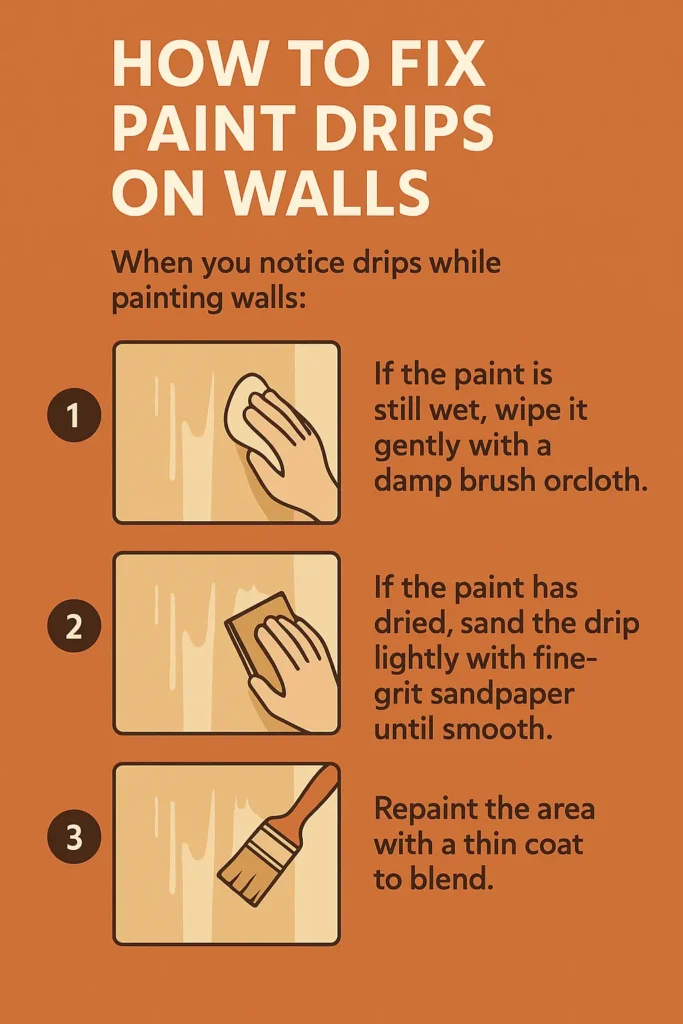
- Still wet (under two minutes). Do not wipe. Unload the roller on the tray grid until it is nearly dry, then roll upward through the run with light pressure and finish with one unbroken downward pass from ceiling to skirting. Wiping with a cloth removes paint below the surface and leaves a thin patch that flashes differently when it dries.
- Tacky (ten minutes to overnight). Leave it. Anything you do now makes it worse. Note the spot with a strip of low-tack tape on the skirting below so you can find it tomorrow — a dried drip on a matt wall is surprisingly hard to relocate.
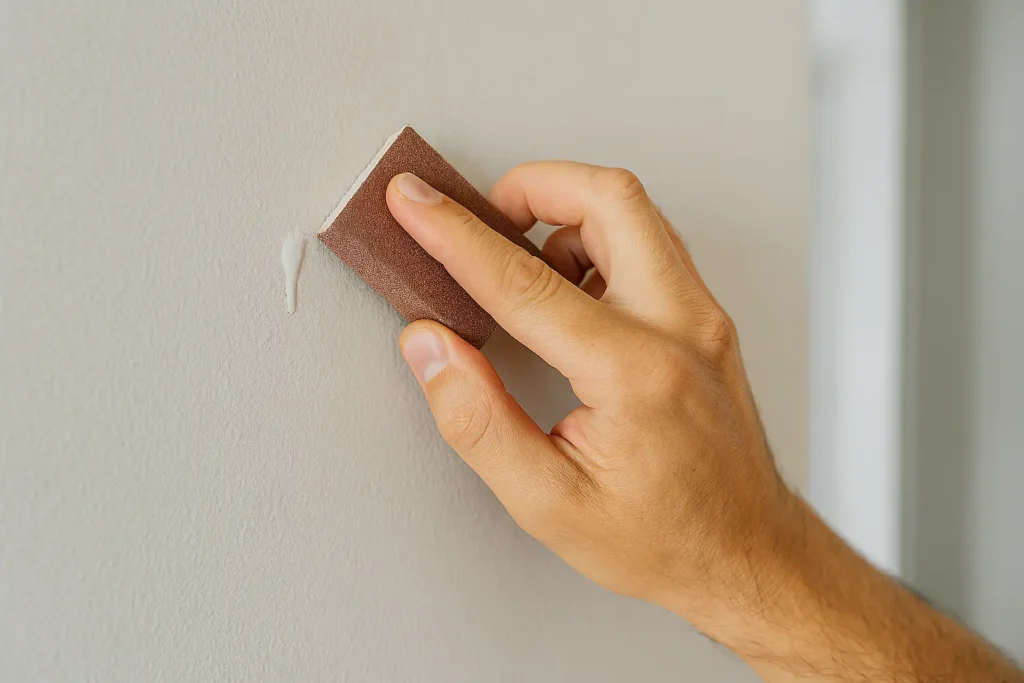
- Fully dry (24 hours or more). Wrap 220-grit paper around a sanding block — never your fingertips, which dish the surrounding paint into a saucer shape you will see under raking light. Sand along the length of the run, not across it, and stop the moment the raised edge disappears. Run the back of your hand over it with your eyes shut; your hand finds ridges your eye misses.
- Repair the halo. Sanding almost always cuts through to the previous colour or the primer, and that patch will absorb the new coat differently. Spot-prime anything that went to bare drywall or paper — a water-based drywall primer such as Zinsser is enough unless you cut into a stain, and the full comparison is in the best drywall primer. Let it dry, then apply two thin coats over an area noticeably wider than the sanded patch, feathering the edges.
The most common complaint after this repair is that the patch is visible even though the colour matches. That is a sheen mismatch, not a colour mismatch: fresh paint over a sanded area dries at a slightly different gloss level than paint that has cured for years. Two fixes work. Either recoat the wall corner to corner, or stir the can hard and roll the patch with the same nap you used originally — a smooth foam roller over a wall rolled with 3/8-inch nap leaves a texture difference the light picks up instantly.
For the blending pass itself, a fine-finish roller lays down less texture than a standard nap and makes the repair harder to spot — I use a FoamPRO fine finish roller for exactly this. And drips are far less likely on a properly prepared wall to begin with, which is the whole argument in how to clean walls before painting.
How to Remove Paint Drips from Ceilings
Ceilings can make drips more visible, especially under light. To fix them:
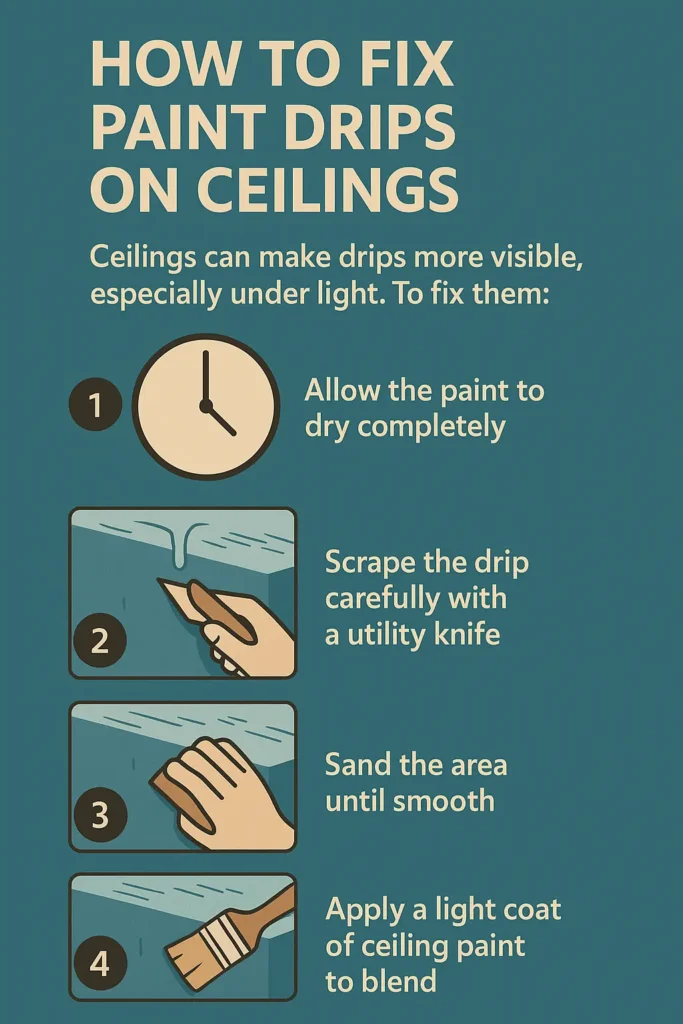
- Allow the paint to dry completely
- Scrape the drip carefully with a utility knife
- Sand the area until smooth
- Apply a light coat of ceiling paint to blend
Hold the utility knife almost flat, at ten or fifteen degrees to the ceiling, and shave the drip in several light passes rather than one deep cut. Held upright the blade digs a trench that is far harder to hide than the drip was. On a smooth ceiling a fresh blade removes the bulk in seconds and you finish with 220 grit; on a textured ceiling skip the knife entirely and sand, because a blade flattens the texture and leaves a shiny bald patch.
Ceilings are unforgiving because light travels along them rather than striking them straight on, so every ridge casts a shadow. Check your work the way it will actually be seen: stand at the doorway with the room lights on and the daylight to your back. A drip that is invisible directly underneath will announce itself from across the room. Flat ceiling paint hides repairs best, which is one of several reasons it is the standard — more on that in the best sheen for ceiling paint.
Choosing the right product also matters. Learn more about the best ceiling paint.
How to Fix Spray Paint Drips
Spray paint drips often appear when spraying too close or too heavily. To fix them:
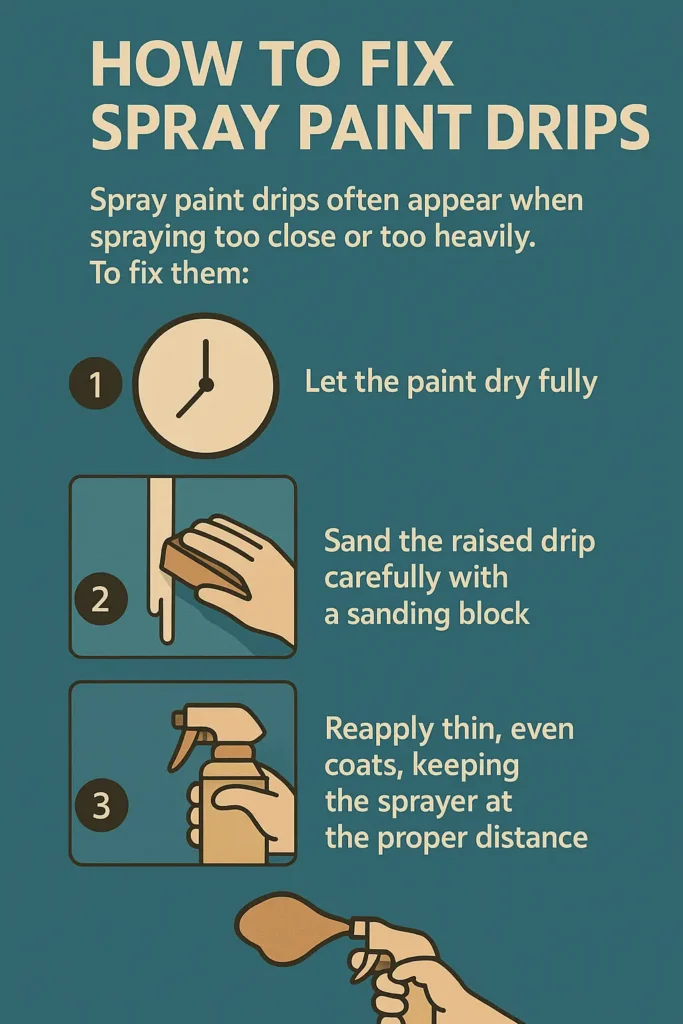
- Let the paint dry fully
- Sand the raised drip carefully with a sanding block
- Reapply thin, even coats, keeping the sprayer at the proper distance
On a glossy sprayed finish — furniture, cabinet doors, automotive parts — dry sanding leaves scratches that show through the recoat. Wet-sand instead. Soak 800-grit wet-and-dry paper for a few minutes, add a drop of dish soap to the water as a lubricant, and sand with almost no pressure, rinsing the paper constantly so it does not clog. Work until the surface is uniformly dull, then dry it, tack it off, and recoat. The dull grey haze is normal; the fresh coat brings the gloss back.
Two things to respect here. Spray paint needs far longer to harden than it needs to dry — touch-dry in an hour, but genuinely sandable at 48 to 72 hours. Sand at 24 hours and the paper gums up and rolls the paint into little worms. And on a curved edge or a corner the film is always thinnest, so ease off before the edge or you will cut straight through to the primer. Distance is the prevention: eight to ten inches from the surface, moving before you press the nozzle and releasing after you pass the end. Equipment helps too — see the best airless paint sprayer guide.
How to Fix Paint Runs on Wood
Paint runs are common on vertical wood surfaces like fences or cabinets. To fix them:
Most of the runs I have had to sand back came off a sprayer rather than a brush — held too close, moved too slowly, pressure set too high. If you are shopping the budget end of that market and want to know how each machine behaves before it starts running, I wrote each one up on its own: Vevor airless sprayer and Maxpray airless sprayer.
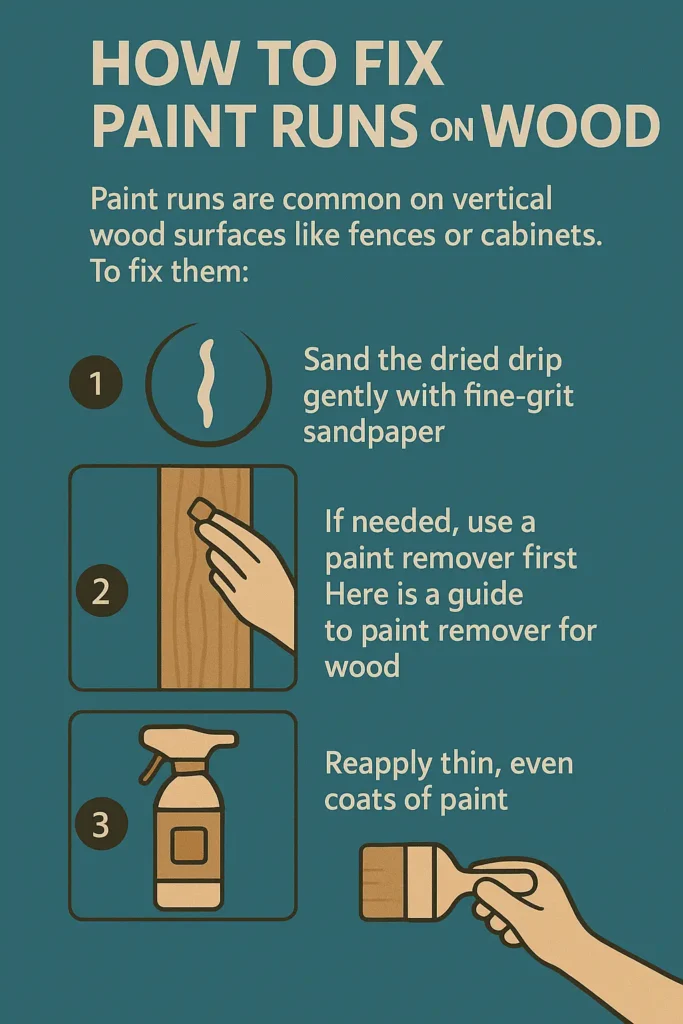
- Sand the dried drip gently with fine-grit sandpaper
- If needed, use a paint remover first. Here is a guide to paint remover for wood
- Reapply thin, even coats of paint
For outdoor projects like fences, you can also learn how to stain a fence for longer-lasting results.
Preventing Paint Drips in the Future
The best way to deal with paint drips is to prevent them. Follow these tips:
- Apply multiple thin coats rather than one thick coat
- Avoid overloading your brush or roller
- Use the right painting tools. See the best paint roller for textured ceiling
- Keep the proper distance when using a paint sprayer
If you are painting a ceiling, follow this guide on the best way to paint a ceiling.
Quick Tips for Common Situations
- White paint drip: Sand lightly, prime, and repaint with ceiling or wall paint
- Red paint drips: Darker colors require multiple thin coats for even blending
- Drippy paint on edges: Learn the best way to paint edges between wall and ceiling
When Sanding Is the Wrong Answer
- Anything painted before 1978. Sanding lead-based paint releases lead dust, which is the most dangerous way to disturb it. Test first — the EPA lead-safe guidance covers what testing and containment look like.
- Wallpaper painted over. Sanding cuts the paper face and the seam lifts. Fill and feather instead.
- Fresh drips in oil-based enamel on trim. Enamel stays workable for far longer than latex. Within the first half hour a dry brush tipped lightly downward through the run will often lay it flat with no sanding at all.
- Dozens of drips across a whole wall. At that point you are not repairing, you are refinishing. Sand the wall as a surface and recoat it — spot-fixing thirty drips leaves thirty visible patches.
Frequently Asked Questions
Can you fix paint drips after the paint has dried?
Yes, and dried is the easier case. Wait a full 24 hours, sand the run flat with 220 grit on a block, spot-prime if you cut through to bare surface, then apply two thin coats feathered wider than the sanded area. The hard case is half-dry paint, not fully dry paint.
How long should you wait before sanding a paint drip?
24 hours for latex on a wall, 48 to 72 hours for spray paint and enamel. Sanding too early gums the paper and rolls the paint into ridges instead of cutting it. If the paper clogs after a few strokes, it is not ready.
What grit sandpaper removes paint drips?
220 grit for walls and trim. 320 to 400 for a heavy run you want to knock down faster, finishing at 220 to even out the scratch pattern. For glossy sprayed finishes, wet-sand at 800. Anything coarser than 180 leaves scratches the topcoat will not fill.
Why can I still see the repair after repainting?
Almost always sheen, not colour. Fresh paint over a sanded patch dries at a different gloss level than surrounding paint that has cured for years, and the eye reads that as a mark. Either recoat the full wall corner to corner, or match the original roller nap so the surface texture matches too.
How do you fix a paint drip on a wall without repainting the whole wall?
Sand it flat, spot-prime any bare patch, then roll the repair from ceiling to skirting in one continuous pass rather than dabbing at the spot. A full-height pass blends into the natural stipple of the wall; a dab always reads as a patch.
Do paint drips flatten out on their own as they dry?
No. They shrink slightly as the water or solvent leaves, but the ridge stays and often becomes more visible because the thicker area dries at a different sheen than the surrounding film. Waiting it out is not a strategy.
How do you prevent paint drips when using a brush?
Load only the bottom third of the bristles and tap the brush against the inside of the can rather than dragging it across the rim — dragging strips the outside of the brush and leaves the inside overloaded. Then finish every section by tipping off: one light pass with an almost-dry brush in a single direction, which levels the film before it starts to move.
The Bottom Line
Learning how to fix paint drips is simple once you know the right steps. With sanding, priming, and repainting, you can restore a flawless surface. Prevention is just as important, so always apply thin coats, use quality tools, and paint with care.
Prep and patience matter more than the brand on the can. Nearly every drip repair I have had to redo went wrong because someone touched the paint in the tacky window, not because they used the wrong product.
About the author: Sophie Ulman has renovated and painted more rooms than she can count — and made every mistake in the book so you don’t have to. She focuses on real-world durability: not how products perform on day one, but whether the repair holds through a full seasonal cycle.