Waterproofing Products Help Keep Basement Dry
A dry basement is more than just a comfort, it’s a foundation for a safe, healthy home. Moisture problems can cause mold, structural issues, and long-term damage. Luckily, waterproofing products help keep basement dry whether you’re dealing with leaks, dampness, or planning preventive measures. In this guide, we’ll walk through the strongest methods, DIY solutions, and the best basement waterproofing materials you can use to protect your home.
Before you buy anything, one warning from my own wasted weekend. I once rolled two coats of waterproofing masonry paint onto a basement wall that was damp every spring. It held for four months. Then the paint blistered off in a sheet the size of a door, because the problem was never the wall – it was a downspout emptying two feet from the foundation. Waterproofing products stop water that is already being managed. They do not stop water that is being delivered. Fix the delivery first, or you are painting over a leak.
Why Waterproofing an Existing Basement Matters
Many homeowners only think about waterproofing after water problems appear. However, waterproofing an existing basement is essential for preventing recurring leaks, stopping mold growth, and keeping your foundation strong. Moisture seeping in over time can crack walls, weaken structural supports, and even lower property value.
If you’re planning renovations or painting your basement ceiling, knowing how to control moisture first is crucial. For example, before choosing the best paint for unfinished basement ceiling, it’s smart to ensure the walls and foundation are fully sealed.
Strongest Basement Waterproofing Techniques
When it comes to durability, the strongest basement waterproofing methods often combine multiple approaches:
- Interior sealants: Applied to walls to stop minor seepage.
- Exterior coatings: Create a barrier outside the foundation.
- Drainage systems: Sump pumps and French drains redirect water away.
- Vapor barriers: Add protection against humidity and condensation.
This “layered defense” method results in complete basement waterproofing, keeping both visible and hidden moisture under control.
Choosing Basement Waterproofing Materials Do Yourself
Not every project requires hiring a contractor. With the right basement waterproofing materials do yourself, homeowners can achieve impressive results. Popular options include:
- Hydraulic cement for patching cracks.
- Waterproof paint for interior walls.
- Bituminous coatings for foundation walls.
- Drainage membranes for extra protection.
If you enjoy DIY projects, it’s similar to learning how to clean walls before painting, preparation is the key to long-lasting results.
Best Waterproofing for Basement Inside
Interior solutions are popular because they’re cost-effective and accessible. The best waterproofing for basement inside often involves:
- Waterproof paints and sealants.
- Epoxy injections for wall cracks.
- Interior drainage systems along the basement floor.
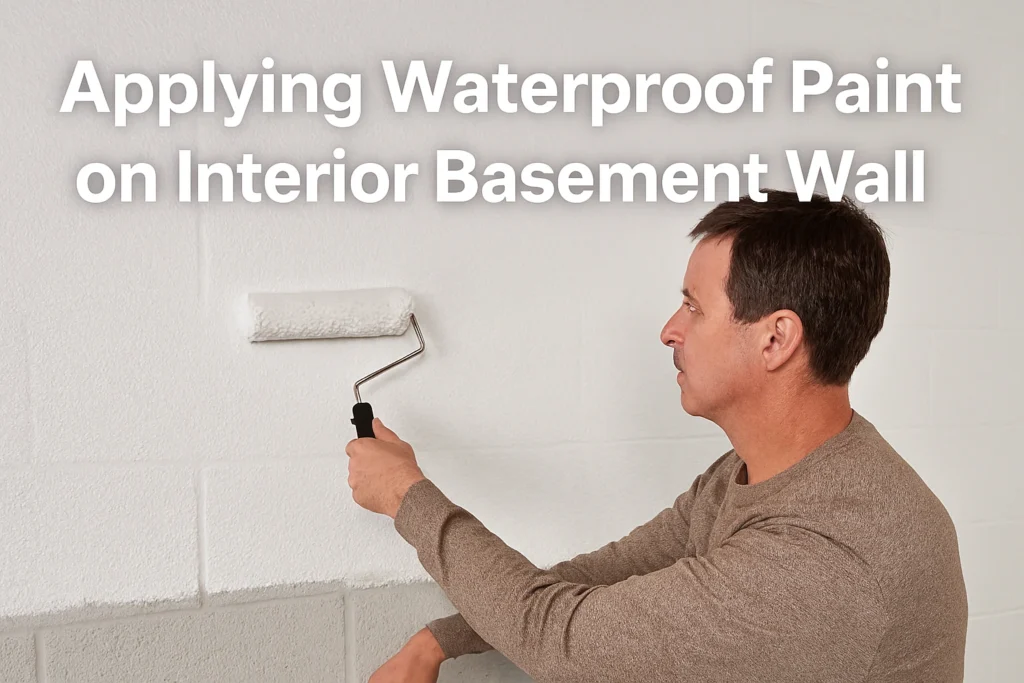
This is also a great choice for DIY basement waterproofing from inside, especially if you’re tackling moisture spots but don’t want to excavate outside your home.
Below Grade Waterproofing Products You Can Trust
For basements below ground level, below grade waterproofing products are non-negotiable. These specialized coatings and membranes are designed to withstand constant soil pressure and groundwater contact. Think of them as a shield that prevents outside water from ever reaching your basement walls.
If you’ve ever asked yourself, “What paint to use on wood for moisture-prone areas?” the principle is similar, not every paint or sealer works under tough conditions. That’s why below-grade products are engineered differently.
Exterior Foundation Waterproofing Products for Long-Term Protection
While interior fixes work, the most durable solutions start outside. Exterior foundation waterproofing products like elastomeric coatings, foundation membranes, and drainage boards prevent water from ever entering.
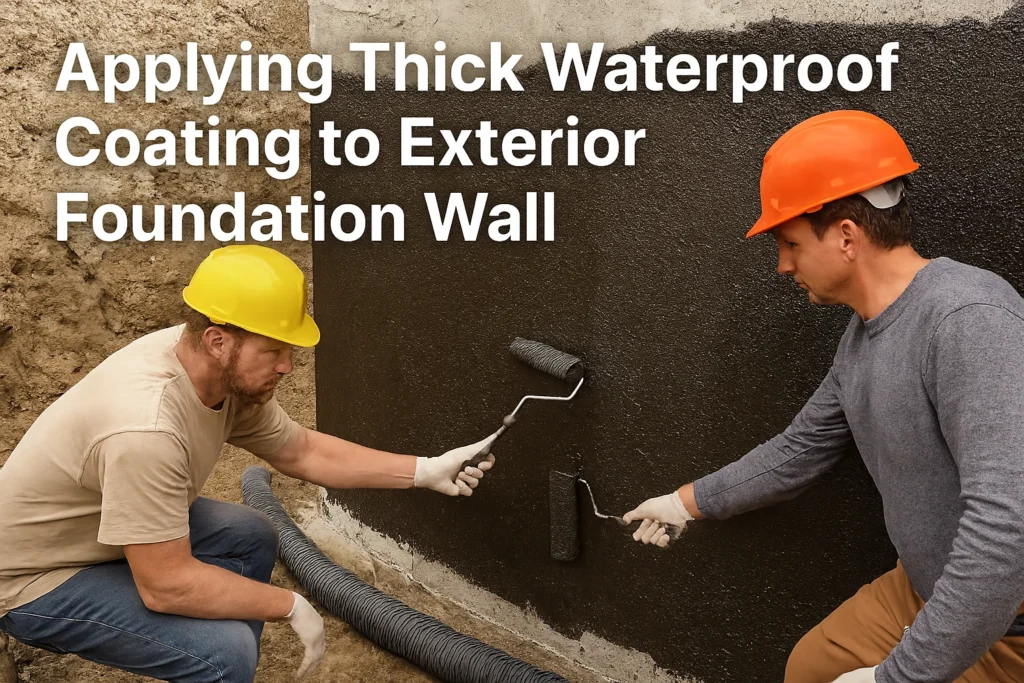
This is often paired with waterproofing basement walls from outside, a process that usually requires excavation but delivers the highest level of long-term security.
Waterproofing Basement Walls Yourself: DIY Options
If hiring professionals isn’t in the budget, you can try waterproofing basement walls yourself. A few practical steps include:
- Apply waterproof masonry paint.
- Use a paint sprayer for even coverage (see best ceiling paint sprayer).
- Seal visible cracks before painting.
- Install a vapor barrier behind finished walls.
With patience, you can achieve a professional look while saving money.
DIY Basement Waterproofing from Inside: Step-by-Step
Here’s a simple outline for DIY basement waterproofing from inside:
- Inspect for cracks and patch with hydraulic cement.
- Clean and dry the walls (similar to prepping before painting a room).
- Apply waterproof paint or sealer.
- Install an interior drainage channel if necessary.
This approach works best for minor leaks or dampness, not severe flooding.
Complete Basement Waterproofing: The Ultimate Solution
For homeowners seeking total peace of mind, complete basement waterproofing combines both interior and exterior strategies:
- Outside: Membranes, drainage boards, and coatings.
- Inside: Crack injections, sump pumps, vapor barriers, and waterproof paints.
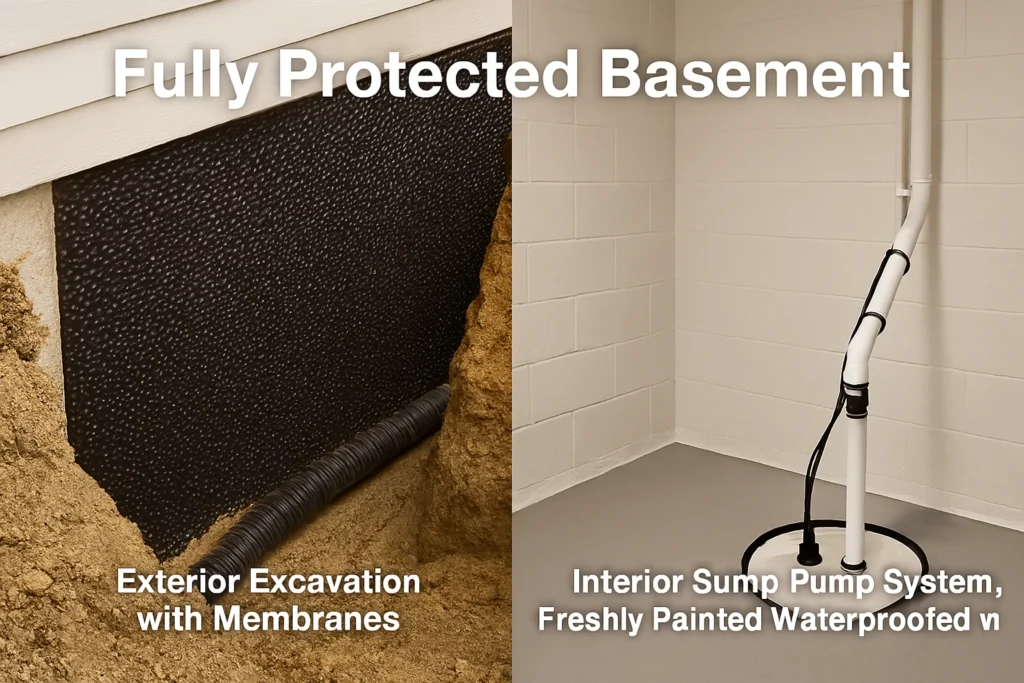
The result? A dry, healthy basement that’s ready for finishing, storage, or even turning into a comfortable living space.
Final Thoughts
Whether you’re dealing with damp walls or planning a full renovation, the right waterproofing products help keep basement dry in every scenario. From DIY basement waterproofing from inside to professional-grade exterior foundation waterproofing products, the key is matching the right method to your home’s unique needs.
And remember: just like choosing the best ceiling paint for bathrooms requires understanding moisture levels, basement waterproofing is all about preparation and choosing products built for the job.
Find the Water Source Before You Buy Anything
Basement damp comes from one of two places, and they need opposite solutions. Condensation is warm indoor air hitting cold masonry and depositing moisture on the room side of the wall. Seepage is groundwater pushing through the masonry from outside. Sealing a condensation problem does nothing. Ventilating a seepage problem does nothing. Guessing wrong costs you the whole job.
There is a free test that settles it in 48 hours. Tape a two-foot square of clear plastic sheeting flat to the wall, sealing all four edges with duct tape. Leave it two days, then look at which side is wet:
- Moisture on the room-facing side of the plastic: condensation. You need dehumidification, insulation, and airflow – not a sealer.
- Moisture on the wall-facing side, or the wall is dark underneath: seepage. Now a waterproofing product is the right tool.
- Both: more common than people expect. Handle the seepage first, then the humidity.
The EPA’s guidance on moisture and mould is worth reading before you seal any below-grade room, because a sealed damp basement grows mould faster than an unsealed one.
The 5 Types of Waterproofing Product, and What Each One Actually Fixes
| Product type | Fixes | Fails when |
|---|---|---|
| Cementitious waterproof coating | Damp, porous bare masonry and block walls | Applied over paint, or over a wall under active pressure |
| Waterproofing masonry paint (acrylic) | Light seepage and musty surface damp | The wall was previously painted, or the source is uncontrolled |
| Hydraulic cement | Active leaks at cracks and pipe penetrations – it sets while wet | Used as a full-wall coating; it is a plug, not a membrane |
| Exterior liquid rubber membrane | The real fix – seals the outside face of the foundation | Only if you can excavate; not a DIY afternoon |
| Interior drainage and sump system | High water table and hydrostatic pressure | Nothing else works at that point – it manages water instead of blocking it |
Notice the pattern. The first two are coatings, and coatings only work on bare, clean, sound masonry. That is where prep matters more than the brand: a cementitious coating brushed into a wall that still holds efflorescence or old paint will let go at the bond line no matter what it cost. Wire-brush the wall, wash off the efflorescence, let it dry, and apply two thin coats worked into the pores with a stiff brush rather than one thick coat rolled on. The surface-cleaning routine in our guide on how to clean walls before painting applies here with one addition – masonry needs to be damp, not wet, when cementitious coating goes on.
When NOT to use an interior waterproofing product
- Water is coming in at the floor-wall joint. That is hydrostatic pressure. A coating will be pushed off the wall. You need drainage.
- The wall has a structural crack that is widening. Seal it and you hide movement you need to be watching. Get it looked at first.
- The wall is already painted. Waterproof coatings bond to masonry, not to old paint. Either strip back to bare or choose a product rated for painted substrates.
- You have not fixed gutters, downspouts, and grading. This is the one that got me. Ninety percent of basement damp starts as roof water landing next to the foundation.
The Cheap Fixes That Beat Any Product
Do these before you spend a dollar on coating. Extend every downspout at least four to six feet from the house. Clear the gutters properly – a blocked gutter dumps the entire roof at one point. Check that the ground slopes away from the foundation for the first ten feet; if it is flat or sloping in, add soil and re-grade. Seal the gap where the driveway or patio meets the house wall. Between them, these cost a weekend and a bag of soil, and they solve more basement damp than any product on this page.
Once the walls are genuinely dry, the floor is the next weak point – bare concrete wicks moisture upward and makes the whole room smell damp even when the walls are sealed. Our walkthrough on how to paint a concrete floor covers the calcium chloride moisture test that tells you whether the slab is ready for a coating. And if the damp has already left staining or mould on the ceiling above, the product selection in our guide to the best paint for preventing mould transfers straight to a basement ceiling.
Frequently Asked Questions
Does waterproof paint really work on basement walls?
On bare, sound masonry with light seepage, yes – it slows moisture transfer and stops the musty surface damp. Against active water pressure or over old paint, no. The product is not the variable; the wall condition is.
Should I waterproof the inside or the outside of the foundation?
Outside, if you can. An exterior membrane stops water before it enters the masonry. Interior coatings work on water that has already got into the wall, which is always the harder fight. Most people do interior work because excavation is expensive – that is a budget decision, not a technical one.
What is the white powder on my basement wall?
Efflorescence – mineral salts carried out of the masonry by moisture passing through it. It is a symptom, not the problem. Brush it off dry, wash the wall, and treat the water source. Coating over efflorescence guarantees the coating will fail.
How many coats of waterproofing coating do I need?
Two, always, and brushed rather than rolled on the first pass so the material is forced into the pores. Two thin coats beat one thick coat here more than anywhere else – a thick single coat bridges over pinholes instead of filling them, and every pinhole becomes a leak path.
Can I waterproof a basement wall that is currently wet?
Cementitious coatings tolerate a damp surface and some need it. Acrylic waterproofing paints do not – they need a dry substrate or they will not bond. Check the label, because these two look similar on the shelf and behave completely differently.
Will a dehumidifier fix a damp basement on its own?
It fixes condensation, which is a real and common cause. It does nothing about seepage – it will simply run continuously while groundwater keeps arriving. Run the plastic sheet test before you assume a dehumidifier is the answer.
About the author: Sophie Ulman has renovated and painted more rooms than she can count — and made every mistake in the book so you don’t have to. She focuses on real-world durability: not how products perform on day one, but whether the repair holds through a full seasonal cycle.