How to Match Paint Already on a Wall, Without Repainting
By Sophie Ulman · Updated August 2026
Learning how to match paint already on a wall is really two problems wearing one coat. Getting the color right is the easy half — a paint store scanner does that in about ninety seconds. The hard half is that a perfectly matched color still shows as a patch, because the new paint has a different sheen, a different texture, and a different age than the wall around it. Almost every failed touch-up I have seen had the right color in the can.
The Mistake I Made for Years: Feathering With a Brush
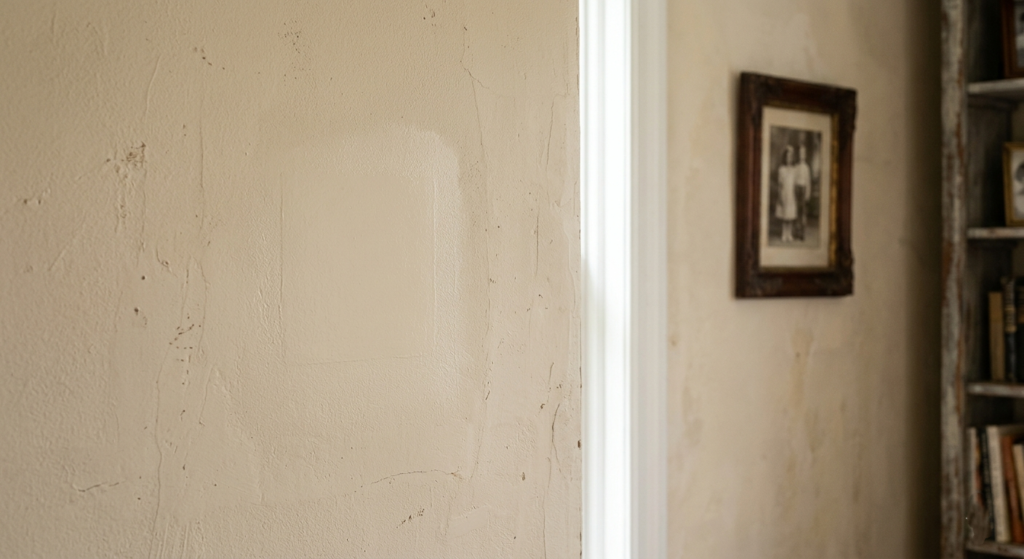
I was taught to feather. Load the brush, hit the center of the mark, then lighten your pressure and drag outward so the edge fades into the old paint. It sounds right. It looks fine while it is wet. Then it dries and there is a faint halo around the repair — a soft ring, slightly shinier than the wall, visible from the doorway in afternoon light and invisible from three feet away, which somehow makes it worse.
It took me an embarrassingly long time to accept that the technique was the problem. Dunn-Edwards puts it in their pro guidance in plain language: do not feather brush strokes into the surrounding area, because it creates a visible halo — and they list “touching up with a brush instead of a roller on smooth walls” as a common mistake outright.
A brush lays paint down in ridges. A roller lays it down in the same stipple pattern the wall already has. On a smooth or lightly textured wall, the applicator matters as much as the color.
Step 1: Find the Formula Before You Cut Anything
Documentary evidence beats any scanner, because it gives you the original formula rather than a reading of a faded surface. Check these in order:
The can. The tinting machine prints a formula ticket and the store sticks it on the lid or the side. It lists the base and the exact colorant drops by volume. Even if the paint inside has skinned over and gone solid, that label alone lets any retailer of that brand reproduce the mix. Photograph it before you throw the can out.
Behind a switch plate. The paint under an outlet cover was applied on the same day as the rest of the wall and then shielded from UV, cleaning, and hand oils ever since. Pull the plate with a flathead and look at the margin — that strip is closer to the original color than the open wall beside it. It is also the best possible sample to take to the store, because nobody will ever see the hole you leave.
Purchase records. Most major retailers now log color formulas against a customer account. If a contractor did the work, ask for their job records — documenting colors per room is standard practice for anyone competent.
Do this next time you paint, and you will never read this article again
Benjamin Moore’s touch-up guidance includes a tip worth more than everything else on their page: label the back of a light switch plate in the room with brand, product line, color name, sheen, and what you painted. It costs thirty seconds, it never gets thrown out with the can, and it lives two feet from the wall it describes.
Step 2: How to Cut a Sample the Scanner Can Actually Read
If there is no can and no record, you are cutting a chip. There is a right way to do this and the size matters more than people expect.
Sherwin-Williams asks for a sample the size of a quarter or larger — a dime is the absolute minimum — with consistent color and finish, and nothing porous, mirrored, or high-gloss. Their instruction for drywall is specific: use a craft knife to gently cut through the paper layer and lift out a square from an inconspicuous area.
In practice that means:
- Cut from behind a switch plate, low behind a door swing, or inside a closet on the same wall — somewhere the missing square will be covered or never looked at.
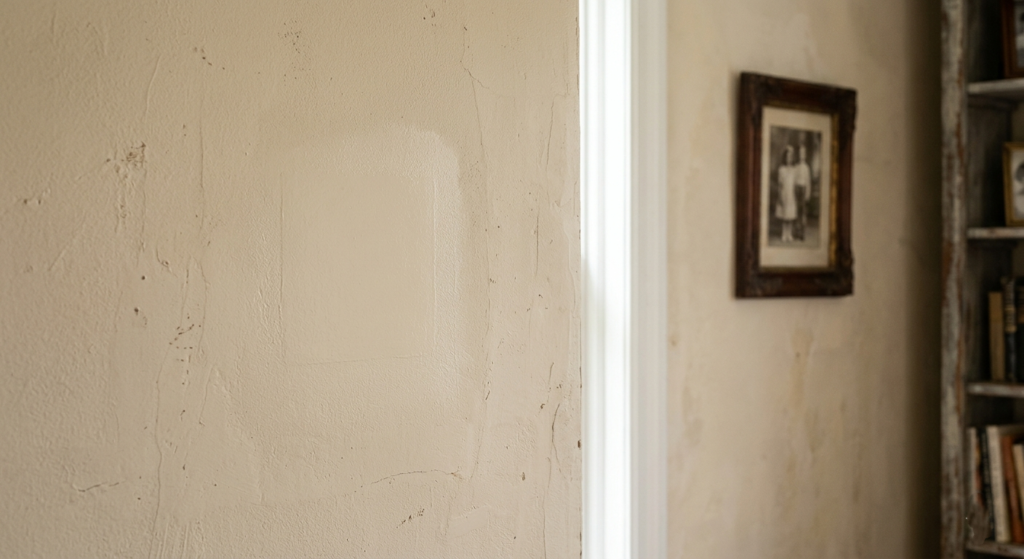
- Score a square about an inch across with a fresh blade, cutting through the paint and the drywall’s face paper only. Lift a corner with the blade tip and peel.
- Do not sand a chip loose. Sanding contaminates the surface with dust and shears the sheen, and sheen is part of what the machine reads.
- Take it from a clean area, not next to the scuff you are repairing. Grime shifts the reading darker.
You will be left with a small bare patch. Skim it with lightweight filler and let it dry before you paint — that is the one spot on the wall that genuinely needs primer, because exposed drywall paper drinks paint at a completely different rate than the sealed wall.
What the Store Scanner Does — and Where It Fails
A spectrophotometer measures reflected light across the visible spectrum, roughly 400 to 700 nanometers, at dozens of intervals, and builds a reflectance curve. Your eye blends everything down through three cone types; the machine keeps the whole curve. It then searches the brand’s formula database for the closest achievable mix.
Two things it cannot do for you:
It reads the wall as it is today, not as it was. Organic pigments photodegrade under UV, and the acrylic or alkyd binder yellows as it oxidizes. A sun-exposed wall painted several years ago has drifted, so a “perfect” scan match reproduces the faded color — which is right for a patch in the middle of that wall and wrong if you are painting a whole section that includes shaded areas.
It cannot solve metamerism. Two paints with different pigment recipes can match under the store’s lights and diverge under your incandescent bulbs or north-facing window. This is why a match that looked flawless at the counter can look off at home, and it is why matching within the same brand and product line as the original beats matching across brands whenever you have the choice.
| Method | Accuracy | Best use | Where it breaks |
|---|---|---|---|
| In-store spectrophotometer | Highest | A cut chip, quarter-sized or bigger | Needs a physical sample |
| Handheld color reader | High | Reading directly on the wall | Gloss and texture scatter the reading |
| Phone color-match app | Moderate | Narrowing to a few candidates | Camera white balance and JPEG compression |
| Fan deck by eye | Low | Naming a color family | Metamerism, eye fatigue |

Nix Mini 3 Color Sensor
Best for: the row above marked “handheld color reader” — reading the wall in place when you cannot cut a chip and will not drive to a store. It seals against the surface and lights the sample itself, which is the entire reason it beats a phone camera: no room light, no auto white balance, no guessing.
Where it disappoints: it reads a small circle, so on a textured or glossy wall the reading scatters and you should take several and compare. And be clear about what it returns — the nearest colours in the brands’ databases, not the tint formula that was actually in your can. Documentary evidence still beats it, and a cut chip on a store spectrophotometer still beats it. It earns its place when neither exists.
Why a Match Can Be Measurably Perfect and Still Look Wrong
Colour scientists measure the distance between two colours as a single number, delta E. It compresses the difference in lightness, red-green and blue-yellow into one figure, and it is what the machine at the counter is quietly minimising when it picks your formula.
The number that matters to you is where a human starts to see it. A delta E around 1 is generally described as imperceptible to most people; somewhere in the region of 2 to 3 is where a difference becomes noticeable. The literature is not unanimous on the exact figure, and it does not need to be, because the useful part is the condition attached to it: those thresholds are far tighter when the two colours share an edge. Separate the same two samples across a room and the difference disappears. Butt them together and the eye locks onto the boundary.
A touch-up is the worst case that geometry allows. You are asking a match to survive being painted directly against its reference, with a hard edge between them, on a wall the daylight rakes across. A formula that would pass as identical on two separate walls fails visibly as a patch — and this is why the fix is so often geometric rather than chemical. Paint corner to corner and there is no shared edge for the eye to find. That is the same answer arrived at from the physics rather than from experience, and it is the reason the advice holds even when your colour is genuinely right.
Step 3: Match the Sheen and the Applicator, Not Just the Color
Sheen changes perceived color. Flat absorbs light and reads deeper; semi-gloss reflects specularly and reads lighter and more saturated. The identical formula in two finishes will not look like the same color on a wall. So the sheen designation goes on your shopping list next to the color code — and be aware that manufacturers are inconsistent with the words, so one brand’s eggshell can sit closer to another’s satin.
Two useful consequences of that. First, flatter finishes forgive touch-ups and glossier finishes punish them; Benjamin Moore says this outright. If you have a satin or semi-gloss wall, set your expectations lower and plan to paint a larger area. Second, match the applicator and the direction. If the wall was rolled top-to-bottom with a 3/8-inch nap, touch it up rolled top-to-bottom — a different tool leaves a different stipple, and the eye reads texture difference as a patch even when the color is exact.
Step 4: The Application That Actually Disappears
Here is the sequence that works, in order.
Clean first. Grease, dust, and hand oils sit on the wall around every scuff, and paint over a dirty surface flashes differently. Wash the area with soap and water, rinse, and let it dry completely — the same prep discipline covered in our guide to cleaning walls before painting. Half the touch-ups I have watched fail were a cleaning problem, not a color problem.
Repair, and prime only if there is real damage. Fill dents and cracks, sand flush, dust off. If you are only covering a color imperfection, skip the primer. If you are covering exposed drywall or a filled hole, prime it — the difference in absorbency is what causes the dull halo people mistake for a color mismatch.
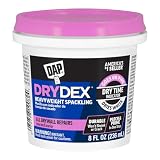
DAP DryDex Dry Time Indicator Spackling — 8 oz
Best for: the filled hole and the square of drywall paper you lifted taking a sample. It goes on pink and turns white when it is dry, which sounds like a gimmick and is not — the most common way a touch-up dries to a dull halo is that the filler underneath was still holding water when the paint went over it, and this removes the guesswork entirely.
Where it disappoints: it is a lightweight filler, so it is for dents, nail holes and small patches, not for structural cracks that keep reopening with the season — those need a taped repair, and no spackle will hold them shut. Sand it flush before it fully hardens; once it does, it fights back.
Thin the paint slightly. On smooth walls with any non-flat water-based paint, Dunn-Edwards recommends thinning 5 to 10% with clean water, specifically because thinned paint reduces the sheen difference between old and new. This is the single most underused trick in touch-up work — see our latex thinning guide for how to measure it without going too far.
Use a mini roller with a 1/4 to 1/2 inch synthetic nap. A four- or six-inch “weenie” roller. Not a brush, unless the wall is heavily textured or you are cutting an edge. Match the nap to whatever put the original coat on the wall — a longer nap leaves a deeper stipple, and stipple depth is texture, and texture is what the eye reads as a patch. We compare the sizes and nap options in our roundup of the best mini paint rollers.
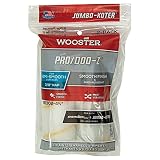
Wooster Jumbo-Koter Pro/Doo-Z Mini Roller Covers — 4½ in, 3/8 in Nap
Best for: the exact job in this section. Three-eighths nap is the standard smooth-and-lightly-textured drywall nap, which means it reproduces the stipple most interior walls already carry rather than laying a new one over the top. Woven covers like these shed far less than a cheap knit, and a shed fibre cured into a touch-up is a repair you get to do twice.
Where it disappoints: these are covers only — you need a Jumbo-Koter frame to run them, so check what is in your bag before ordering. And if your wall carries a heavy orange-peel or knockdown texture, 3/8 is too short; go to 3/4 for that wall instead.
Load light. As little paint on the roller as will transfer. Film build is what makes a patch stand proud of the wall and catch light at a different angle. Two thin coats always beat one thick coat — let the first dry completely before deciding whether you need the second.
When the repair is bigger than a fist, go corner to corner. Paint the full plane — corner, door casing, ceiling line, whatever the nearest natural break is. Your eye judges a surface against its neighbors, so a fully repainted section between two breaks reads as intentional even if it is a shade off, while a perfect patch in open wall reads as a patch. Dunn-Edwards gives the same advice for any wall with multiple touch-up areas.
Why It Looks Darker When It Dries
Two separate things are happening and people blame the wrong one.
Dry-down. As water leaves the film, pigment packs tighter and the binder clarifies, so the color deepens as it cures. A latex touch-up can keep shifting for days. Judge a repair after 24 hours minimum, in the light the room actually gets, and preferably after a week before you decide to redo it.
Substrate absorbency. A sanded or filled area pulls solvent out of the wet film faster than the sealed wall does, which changes both the depth and the sheen of the dried paint. That is a prep problem, and the fix is sealing the repair before the color coat, not adding more color coats on top.
When a Touch-Up Will Not Work — Stop and Repaint the Wall
- The wall is semi-gloss or gloss. High sheen shows every edge. Paint the full plane instead.
- There are more than a few marks. Multiple patches never average out; they read as a rash. Corner to corner is faster than five failed attempts anyway.
- The wall gets direct sun and is over about three years old. The aged surface has drifted from any formula you can buy, including its own original one.
- You can only get a different brand. Colorant systems differ between manufacturers, so the same color code lands in a different place, most visibly in mid-tones and shadows.
- The original was a cheap builder-grade flat. Low-solids paint touches up unpredictably because the coverage was never uniform in the first place.
- The mark is a chip or a scratch rather than a scuff. A roller cannot fill a divot. Level it with filler first, or for a chip too small to be worth the exercise, use a touch-up paint pen and accept that it is a repair you can find if you look for it.
And the rule that governs all of this: prep matters more than the brand. A mid-range paint on a clean, filled, sealed, correctly-sheened surface applied with the right roller will disappear. A premium paint straight onto a greasy wall with a brush will not — and no amount of scanner precision rescues it.
Paint Matching FAQ
How big does a paint sample need to be for the store to match it?
Quarter-sized or larger is what Sherwin-Williams asks for, with a dime as the bare minimum. The sample needs consistent color and finish across its whole face, and it cannot be porous, mirrored, or high-gloss — those confuse the reading.
Can I match paint from a photo on my phone?
Only as a shortlist. Phone cameras apply automatic white balance and JPEG compression discards color data at capture, so an app can tell you the family and rough value but not a formula. Use it to narrow candidates, then confirm with a physical sample at a store.
Why does my touch-up show even though the color matched perfectly?
Almost always sheen or texture, not color. New paint over a repair dries at a different gloss level than the aged wall, and a brush leaves a different surface pattern than the roller used originally. Thin the paint 5 to 10%, use a mini roller matching the original nap, and load it lightly.
Should I feather touch-up paint with a brush?
No. Dunn-Edwards’ pro guidance says feathering brush strokes into surrounding paint creates a visible halo, and lists brushing smooth walls as a common mistake. Feathering with a roller is more forgiving; on smooth walls a mini roller is the correct tool.
Do I need to prime before touching up?
Only where the substrate is exposed. For a scuff or a color imperfection on intact paint, skip it. For a filled hole, a sanded-through spot, or bare drywall paper, prime — otherwise the repair absorbs paint differently and dries to a visibly different depth and sheen.
Will the touch-up eventually blend in on its own?
Sometimes. Fresh paint keeps curing and darkening for days, and a repair that looks obvious on day one can settle in noticeably by the end of the week. Give it a full week under the room’s normal light before deciding to redo it.
Does the paint brand matter when matching a color?
Yes, more than most people expect. Manufacturers use different colorant systems, so the same nominal color mixed in another brand’s base lands in a slightly different place, most visibly in mid-tones and shadow areas. Match within the original brand and product line whenever you can.
About the author
Sophie Ulman has renovated and painted more rooms than she can count — and made every mistake in the book so you don’t have to. She focuses on real-world durability: not how products perform on day one, but whether the repair holds through a full seasonal cycle.
ThePaintly is reader-supported. Our picks are based on manufacturer specifications and what users report. When you buy through links on this site, we may earn an affiliate commission at no extra cost to you.